








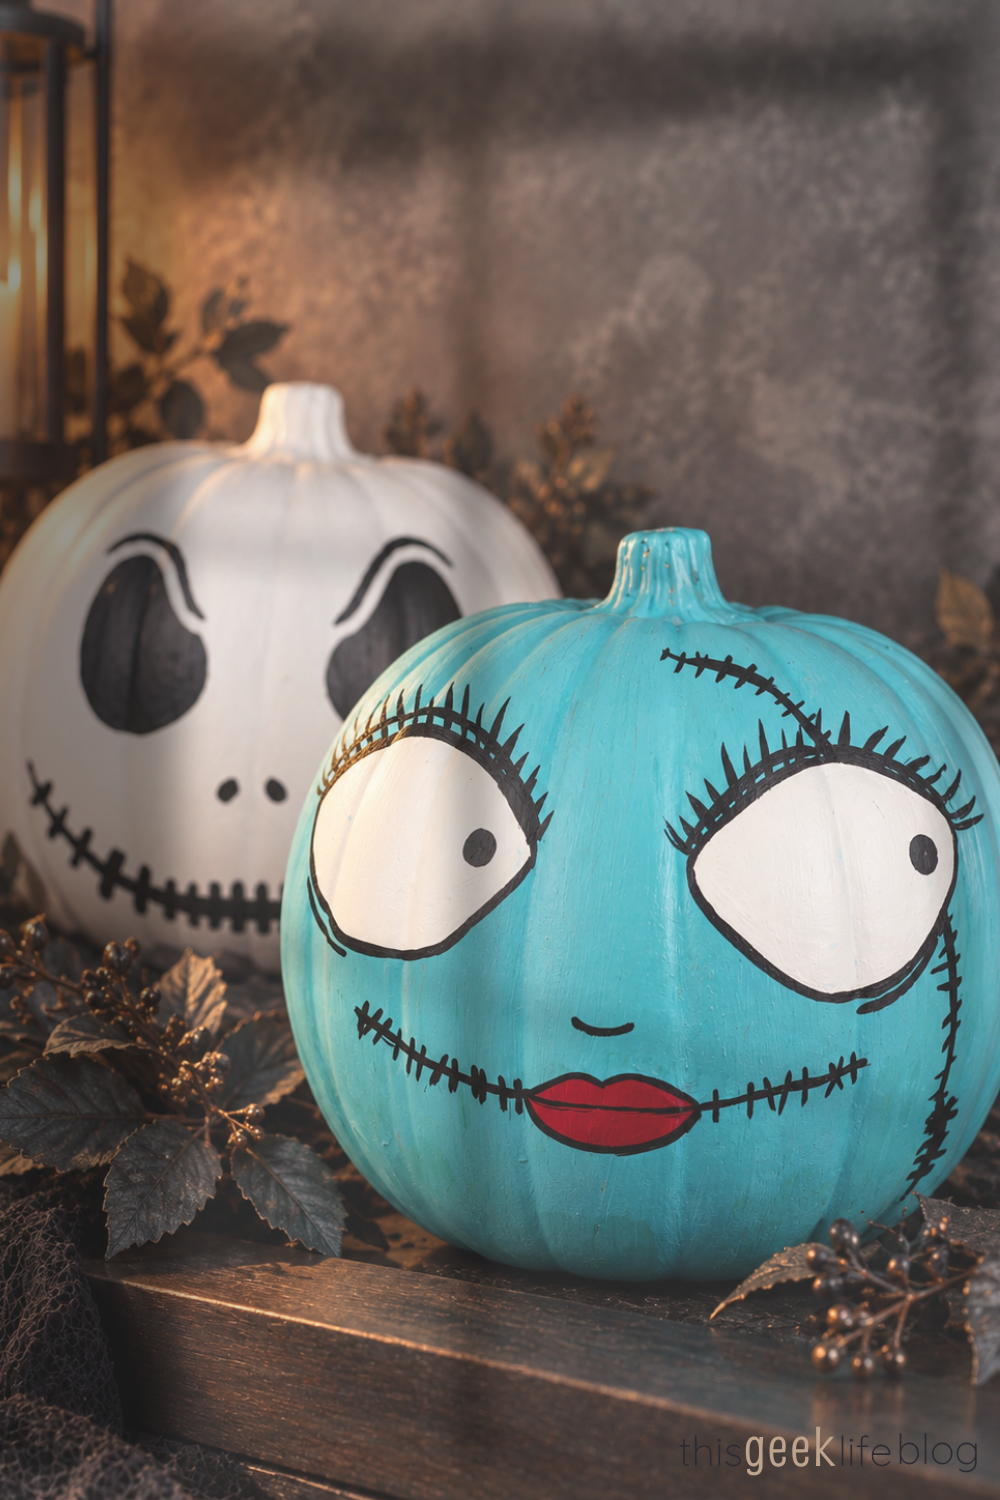
26 Oct DIY Painted Pumpkins Inspired by The Nightmare Before Christmas
Every fall, it feels like we barely have time to notice the first changing leaf before spooky season arrives.
I mean, I’m not complaining.
Around here, fall has slowly become Falloween—a cooler, slightly strange mix of autumn, Halloween, and the stories we love once the days begin getting shorter. And one of the traditions that helped us find our version of the season started with a few white pumpkins, some paint, and The Nightmare Before Christmas playing in the background.
A Little Falloween Tradition
Our fall decor didn’t always look the way it does now. Over time, Hubs and I stopped decorating around what we thought autumn was supposed to look like and started paying attention to what the season actually felt like to us: cooler colors, industrial textures, gothic details, and pops of spooky-whimsy.
Somewhere along the way, Falloween became our word for it.
These painted pumpkins were one of the first projects that helped us find that style.
The Nightmare Before Christmas
The Nightmare Before Christmas became part of our visual language. I didn’t see it for the first time until Hubs introduced me to it, but its charmingly spooky world fit beautifully with the version of fall we were already beginning to create together.
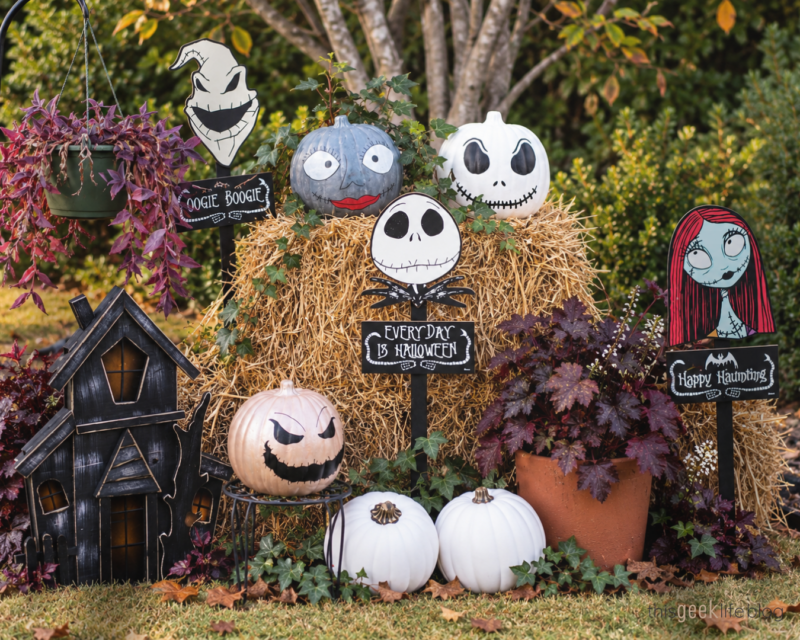
We started with Jack and Sally pumpkins. Later, we added Oogie Boogie, and gradually we built a small collection that could stay with us from fall through Halloween – and sometimes suspiciously close to Christmas.

Painted Pumpkins
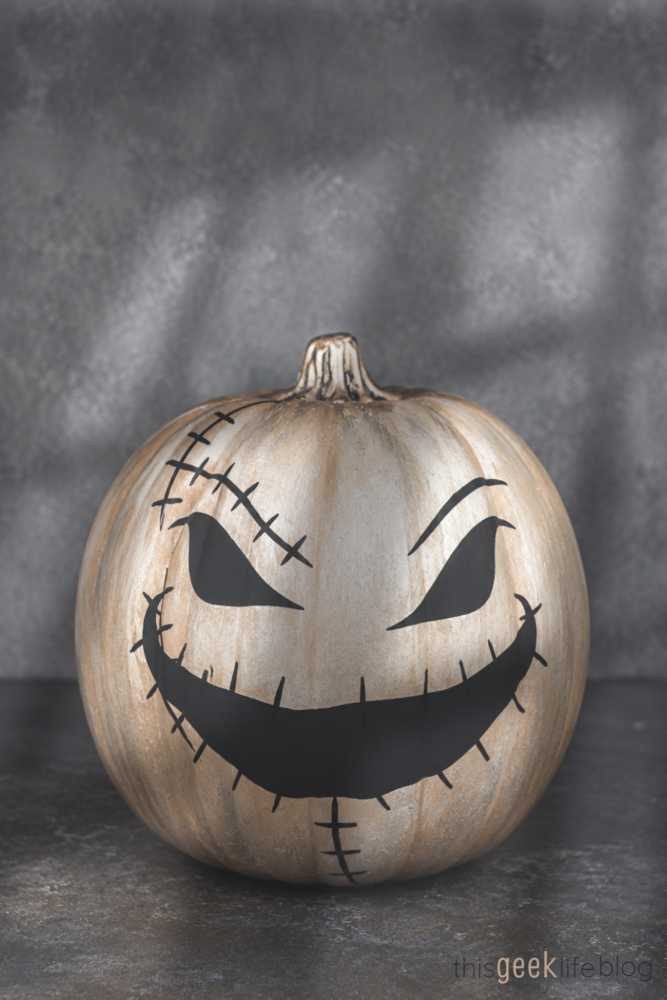
We started painting our pumpkins a few years ago. I prefer craft pumpkins because I cannot be bothered with carving, and I especially cannot be bothered with pumpkin guts. They also mean we can bring the same painted characters back every season. We found our white craft pumpkins at Michaels, and, every year, we add a couple to our collection as they become available. Michaels carries them in different shapes and sizes, which adds a bit of variety to our collection.
We decided to stick with a very neutral palette so we could match the inside out outside of our home as closely as possible.
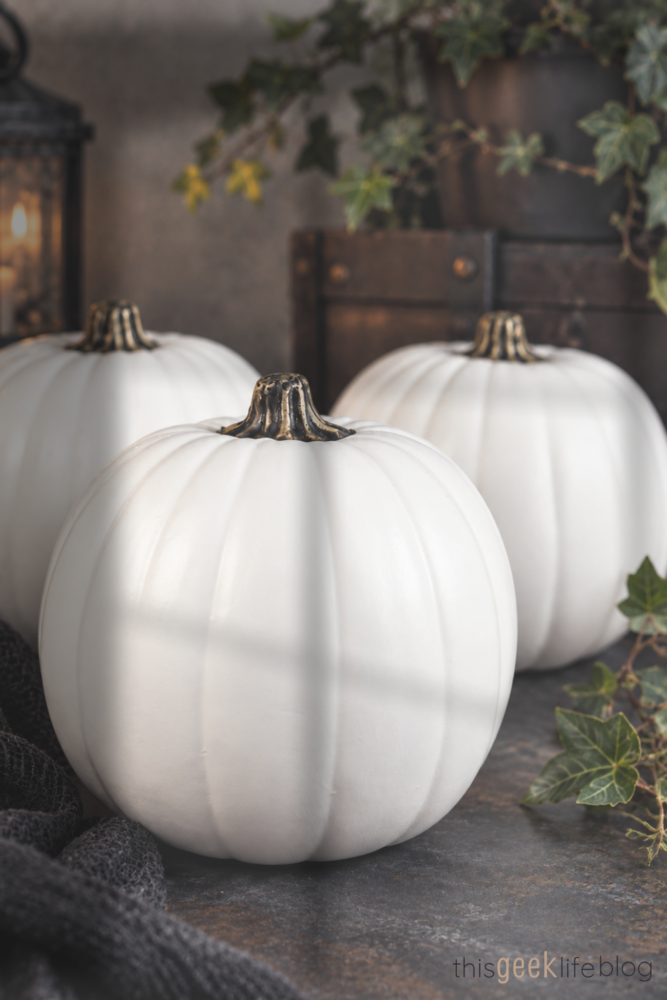
Here is how we made our DIY painted pumpkins so you can make some, too:
How to paint pumpkins for your Fall, Halloween (or Falloween) Decor
Supplies you will need for your DIY painted pumpkins
Here’s a list of what you will need for this painted pumpkin project. If you check the sidebar (on the right for desktop, and below the post on mobile), I have images of the supplies and where you can purchase them.
- The Pumpkins
- Craft Brushes
- Mod Podge Primer
- Glass Dish
- Paper Plates
- Acrylic Paint
- Jack, Sally, and Oogie Boogie Face Templates*
- Mod Podge Sealer Spray
- And, of course, the soundtrack. You know, for mood music…
Clean your pumpkins
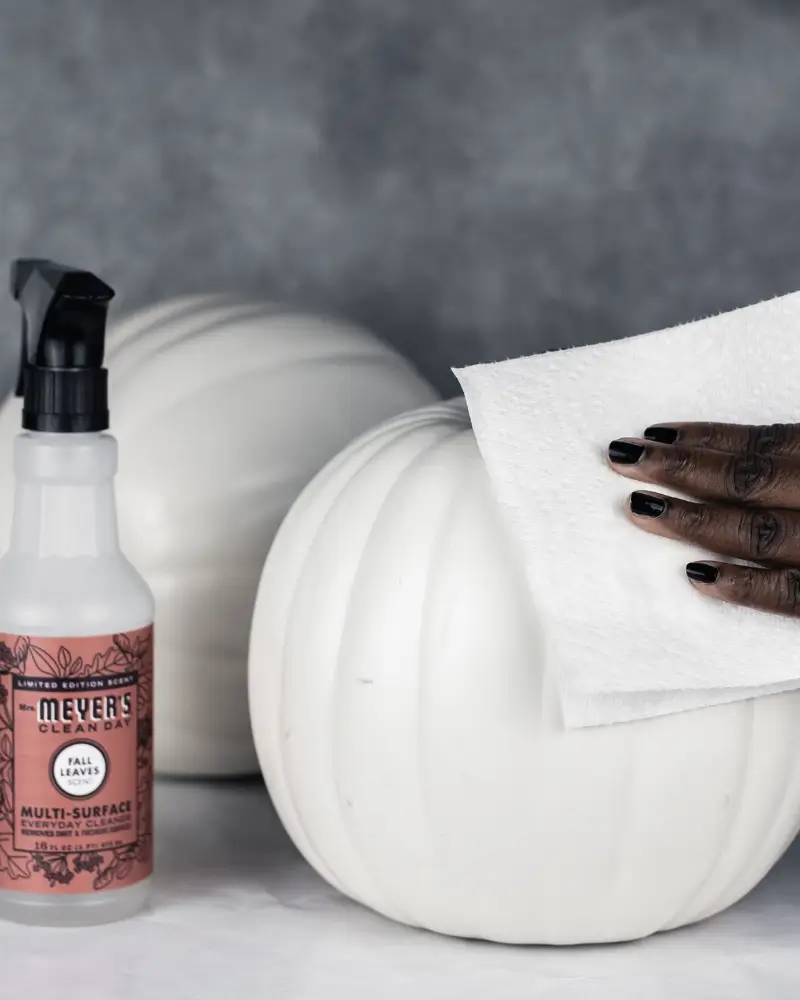
Start with a clean pumpkin surface. Always wipe down anything you’re going to prime and paint. You want a nice clean and dry surface to start. I simply take a paper towel, spray a fall-scented cleaner onto it, and wipe down each pumpkin.
Prime your pumpkins
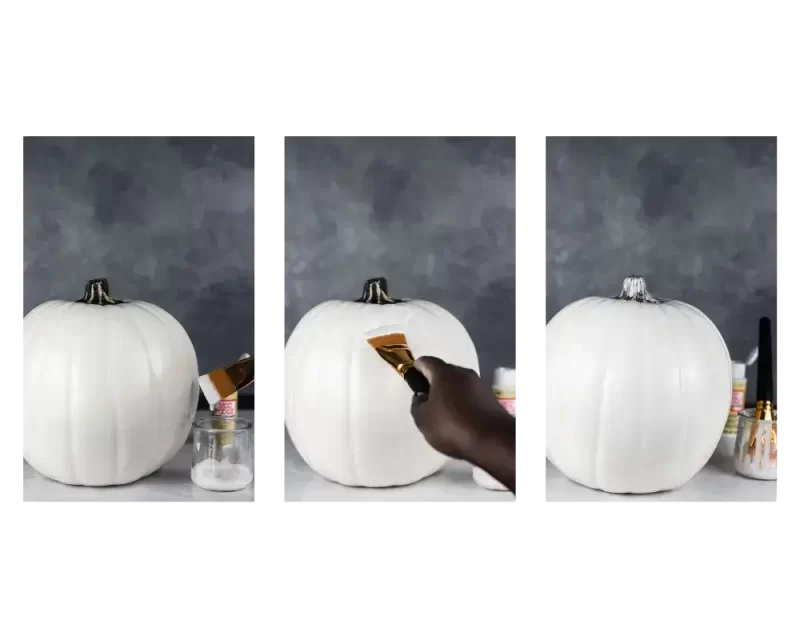
Now we’re going to apply the primer so the surface of the pumpkins are smooth for painting. I use Mod Podge for this. Let the primer dry completely. You don’t want it to be tacky or partially dry or the paint won’t do what you need it to do.
Paint your pumpkins
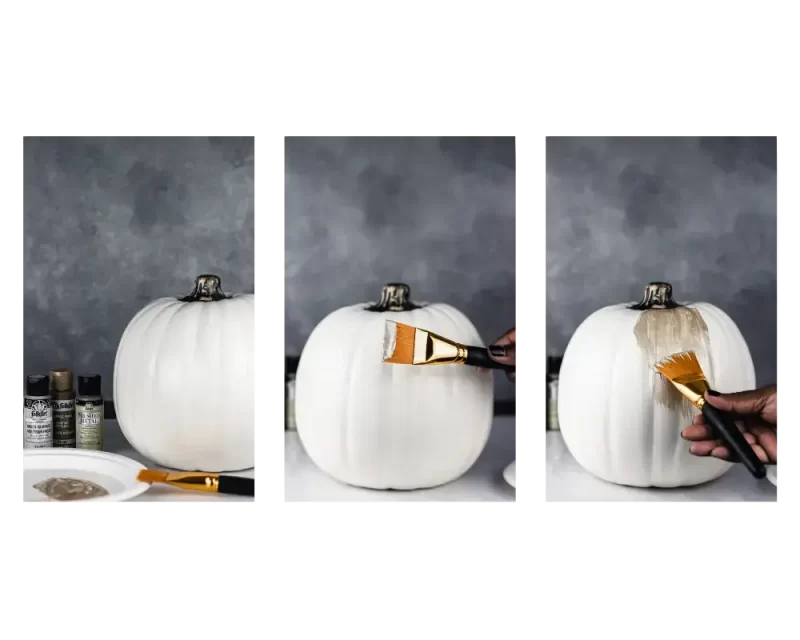
Now it’s time to paint! If you’re going with a flat base color, you may prefer to buy spray paint. I don’t really have a brand preference here, except that we try to stick with flat or satin paints.
We prefer to hand paint unless we have a huge project or it will be too time-consuming. I like adding a little texture with my paint because it works well with the other handmade pieces in our home, but a smooth finish works beautifully too. The primer also gives the paint a more even surface to grip, which helps me get a smoother base coat. But just take your time and have fun with it. Two coats will usually do it.
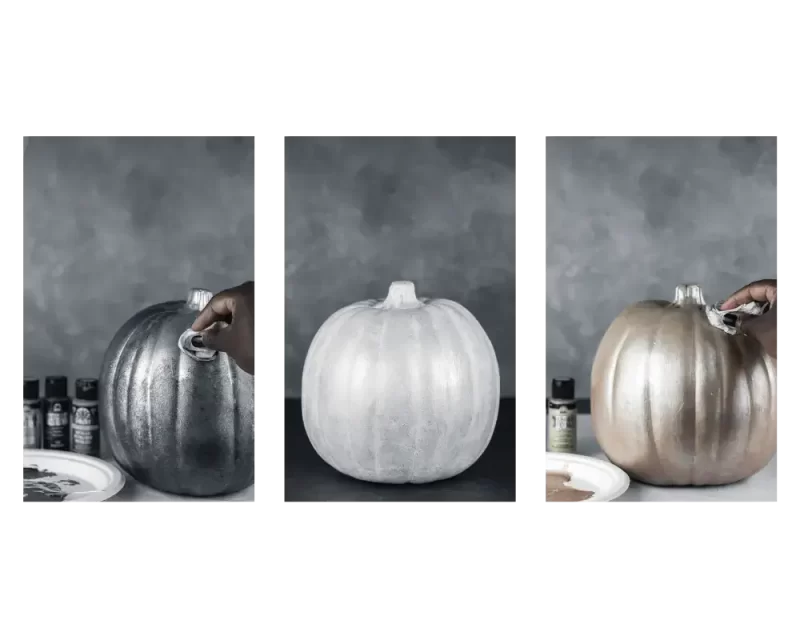
Let the base coat dry completely before adding the face. Otherwise you’ll drag or smear the paint when you touch it—basically the craft equivalent of ruining freshly painted nails.
Nail polish is my mortal enemy.
Give your pumpkins a face
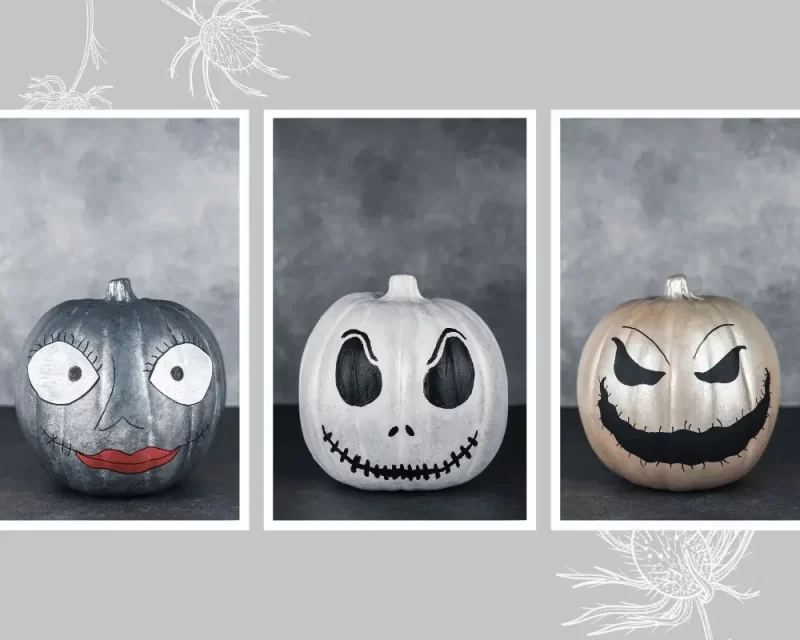
Once your base is dry, paint or draw on the face details. I like to paint mine in with a paintbrush. Because painting is a mindfulness activity for me. But a paint pen works just as well, especially if the details are black.
*If you’d rather not draw the faces freehand, I made simple Jack, Sally, and Oogie Boogie templates you can use as guides. They’re free to download here—no signup required.
Seal them in and put up your Fall and Halloween decor
Let it all dry completely and then seal your beautiful work. The sealant will help to keep the outside elements from damaging your decor.
Make a night of it
This is a fun project for you to do on any fall evening. Light some candles, make some tea or cider, and play the movie in the background for the atmosphere. For a full analog experience, play the soundtrack only while you chat and paint. You don’t need to make three pumpkins or recreate ours exactly. Pick one character, use colors from a story you love, or simply let the evening be an excuse to make something together.
The first time we did this, Hubs and I set up a table in the living room, gathered our paint supplies, and worked on our characters while The Nightmare Before Christmas played in the background.
Somehow, movie-and-pumpkin night became one of those little traditions we return to every fall.
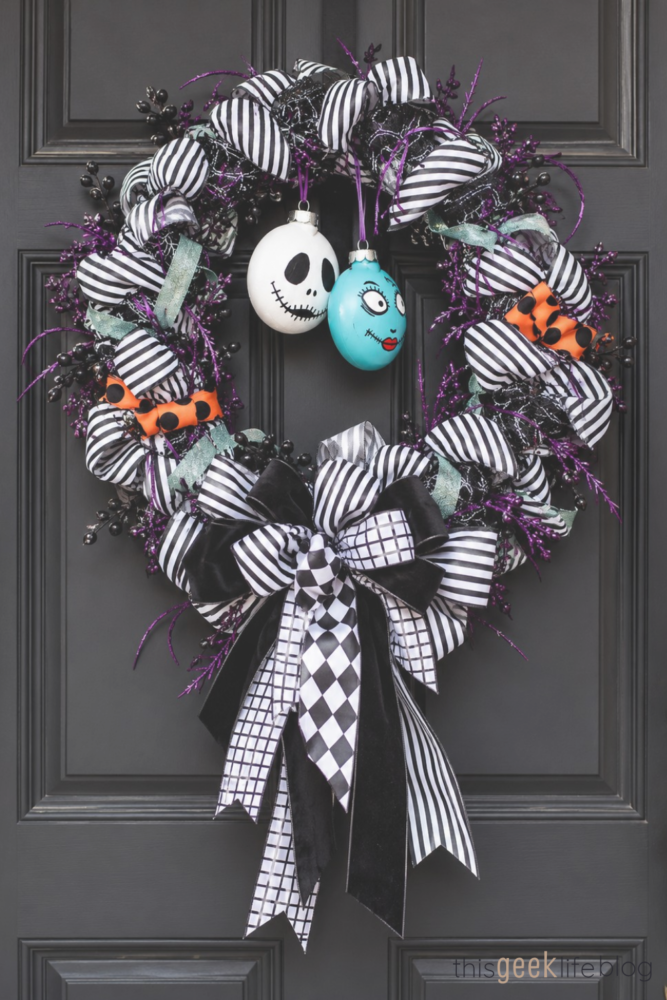
We started painting these pumpkins because we wanted fall decor that felt a little more like us. I don’t think I realized at the time that we’d end up creating something else, too.
Somewhere along the way, the project became part of our seasonal tradition: A table covered in paint, a familiar movie playing in the background, Hubs working on his pumpkin beside me, and every year adding a new character to our collection or touching up an old one.
That’s one of the things I love most about making decor instead of always buying it. You end up with an object for your home, yes—but sometimes you also end up with a memory attached to it. And every fall when those slightly strange little faces come back out, so does a piece of the afternoon we made them.
If you like seasonal DIY posts, read the entire collection:
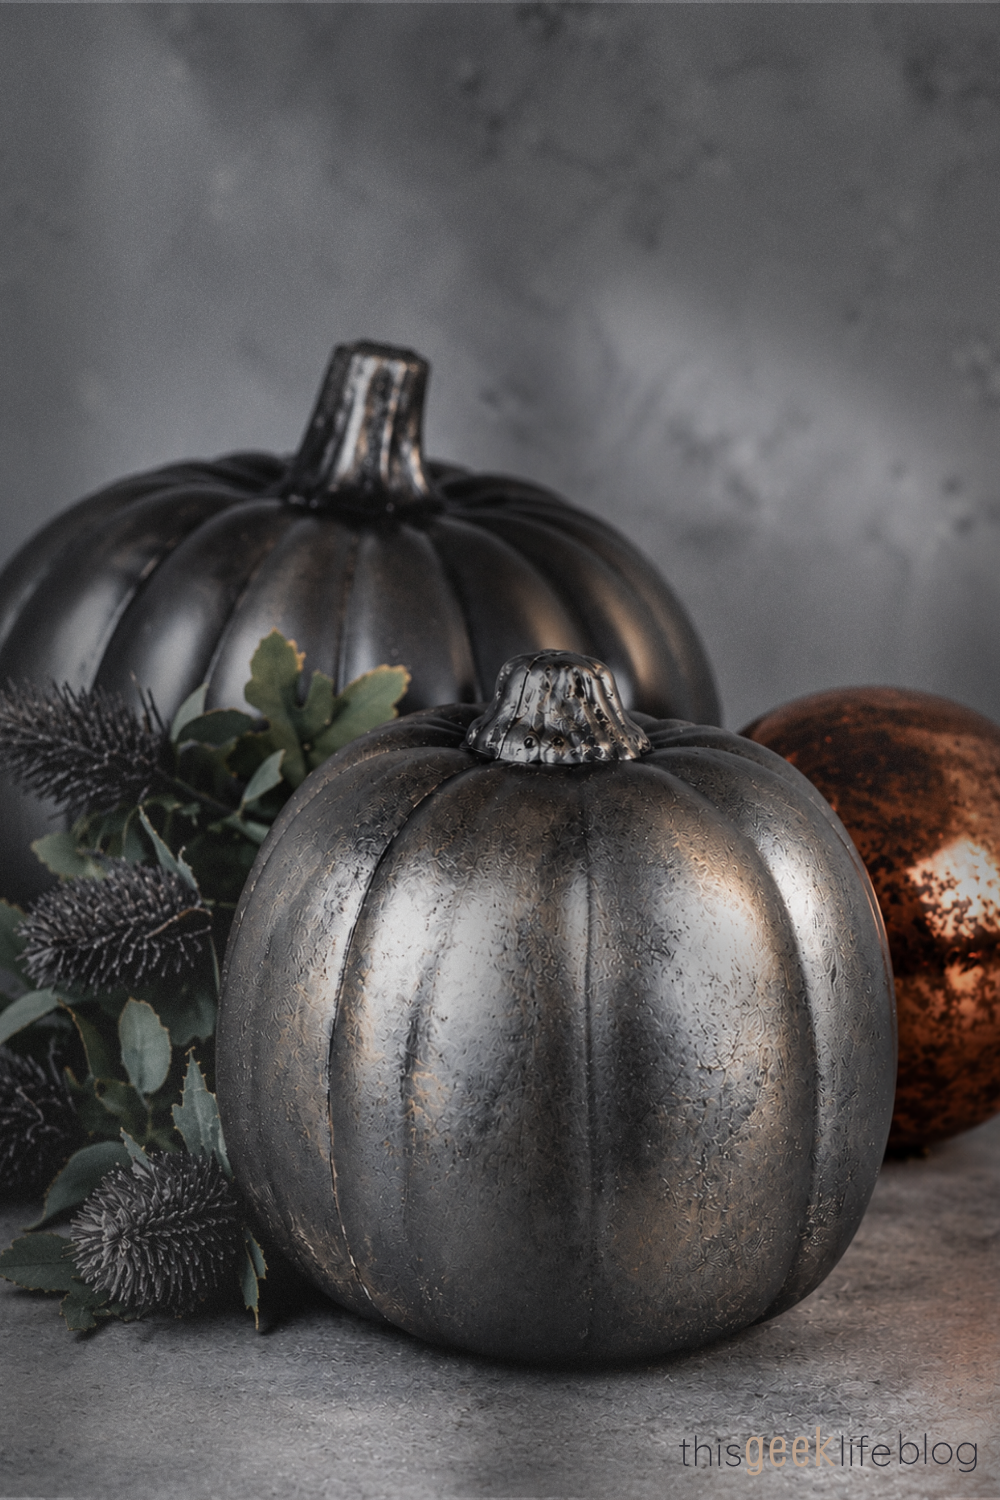
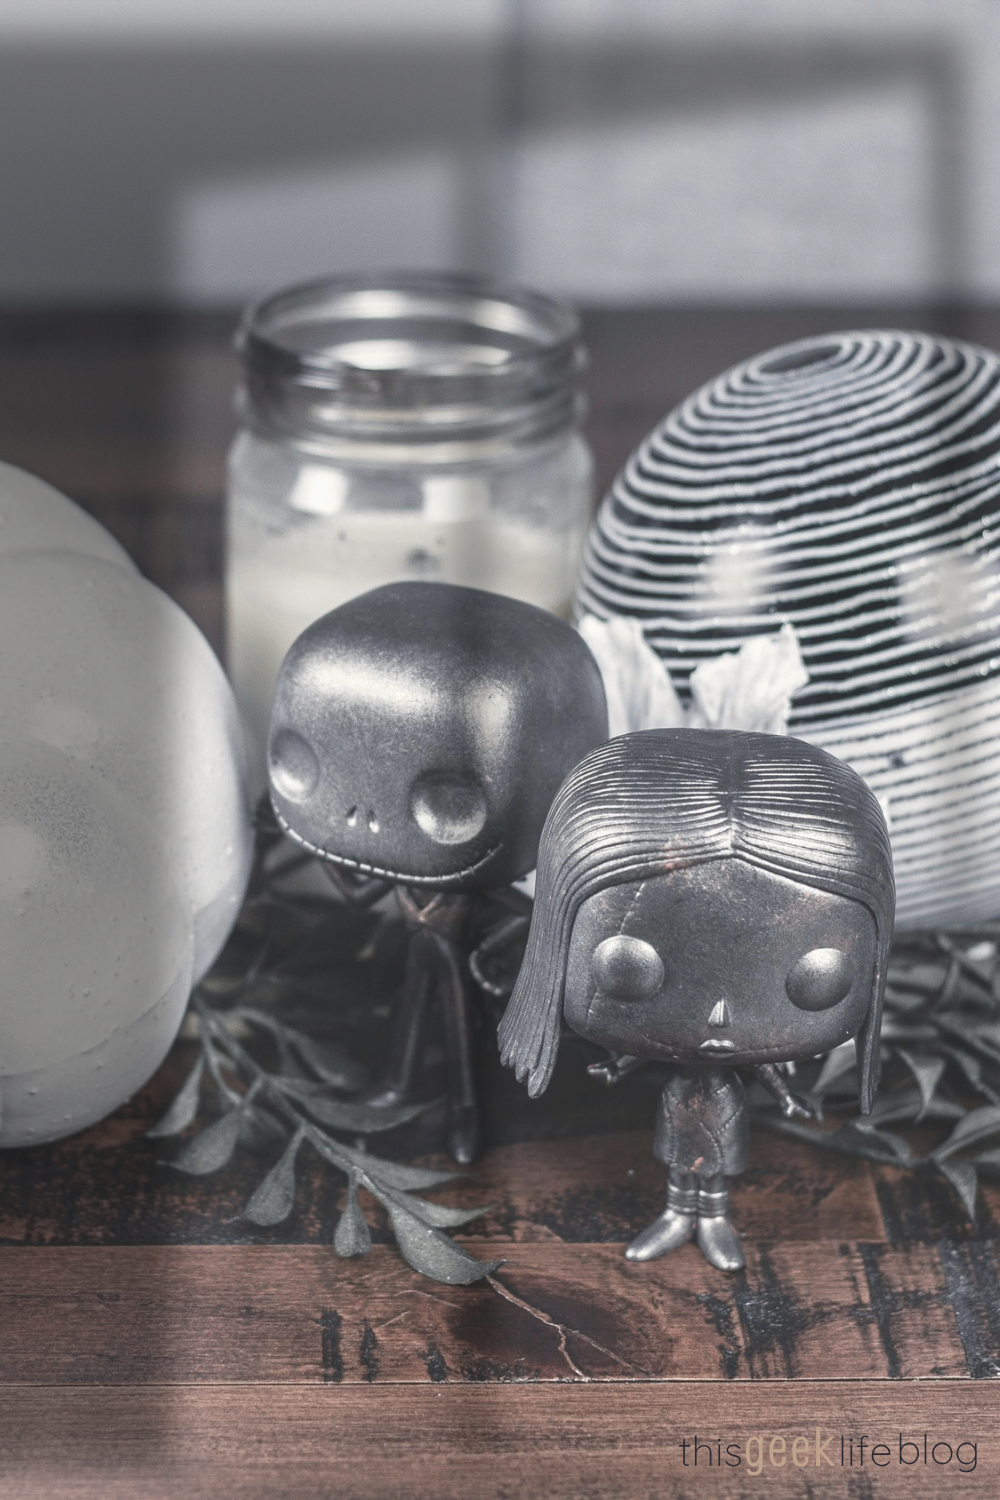
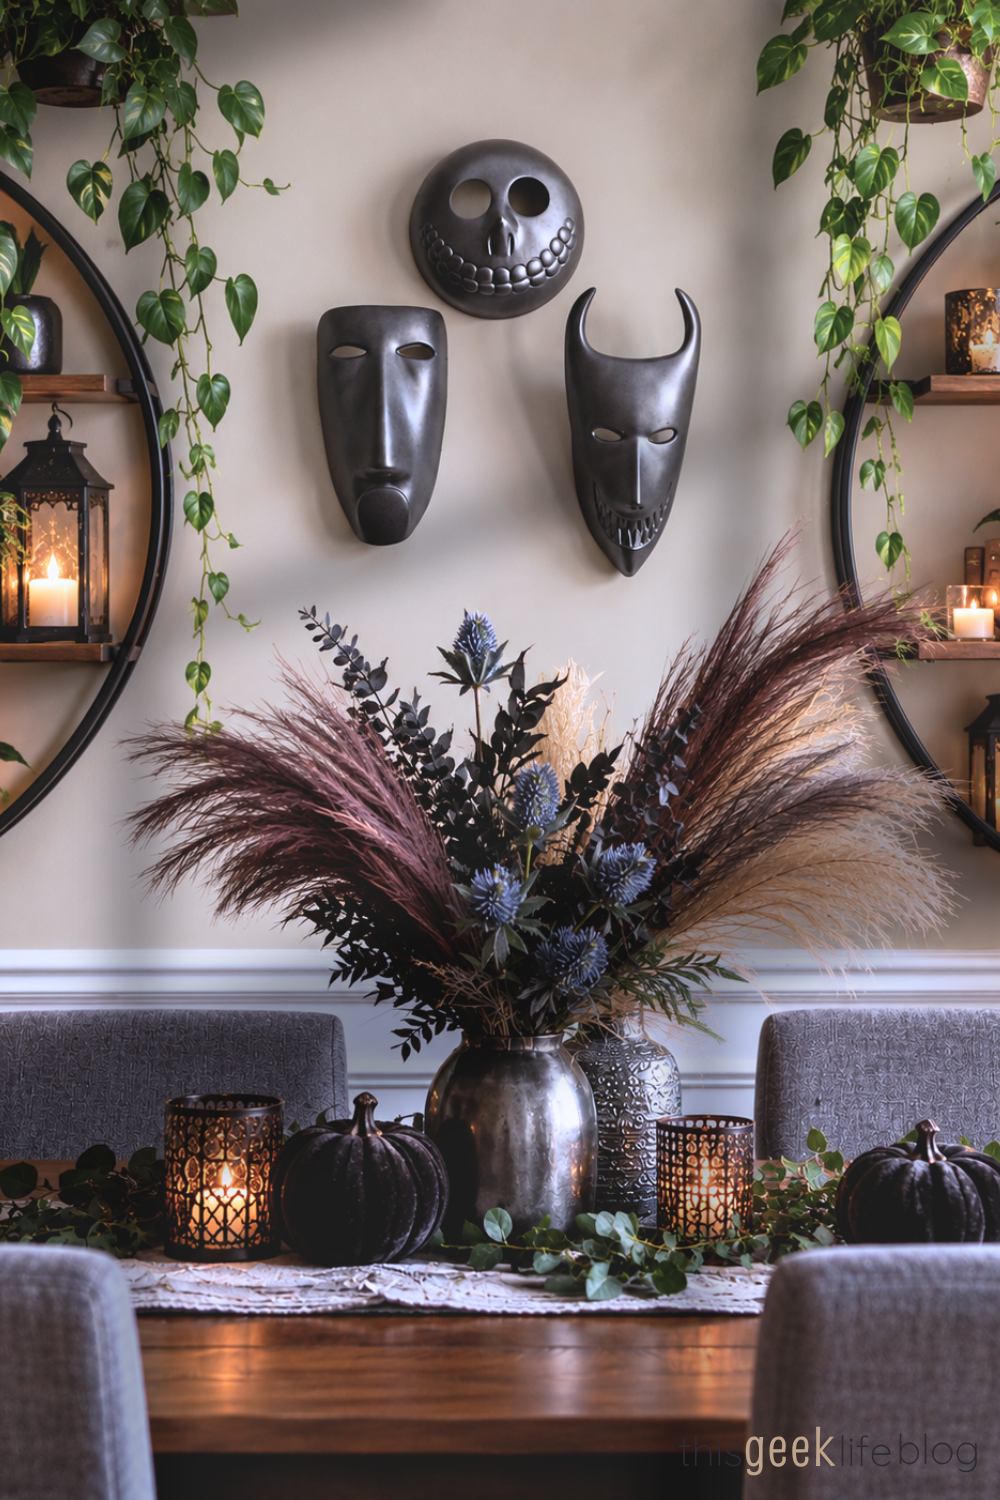
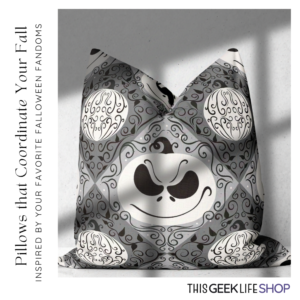
And if you love artwork inspired by The Nightmare Before Christmas, shop the collection at the shop:

No Comments