







16 Nov DIY Painted Funko Pops for Halloween Home Decor (Inspired by The Nightmare Before Christmas)
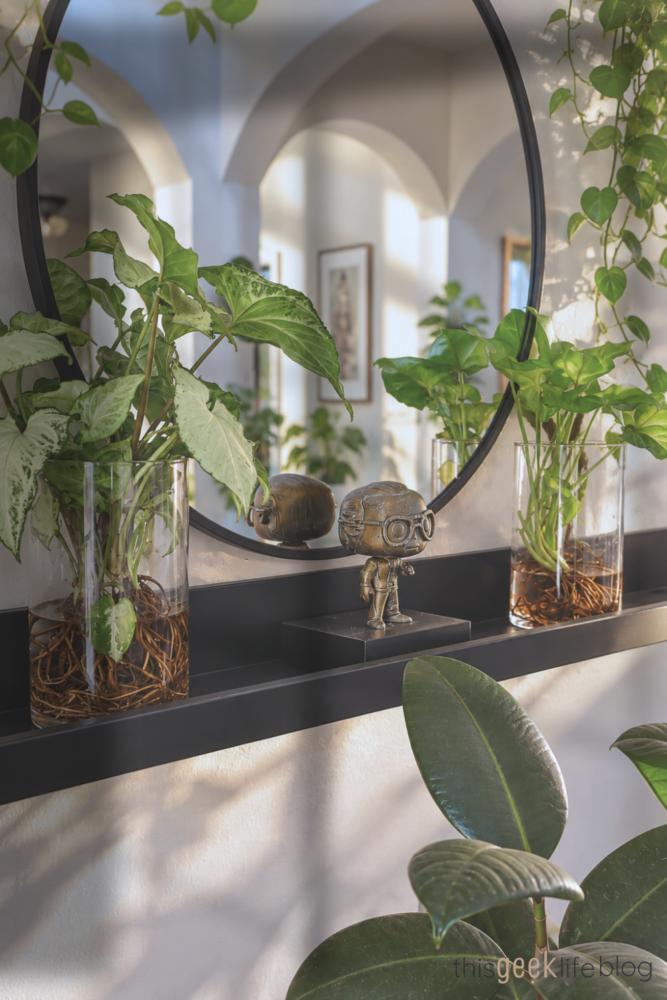
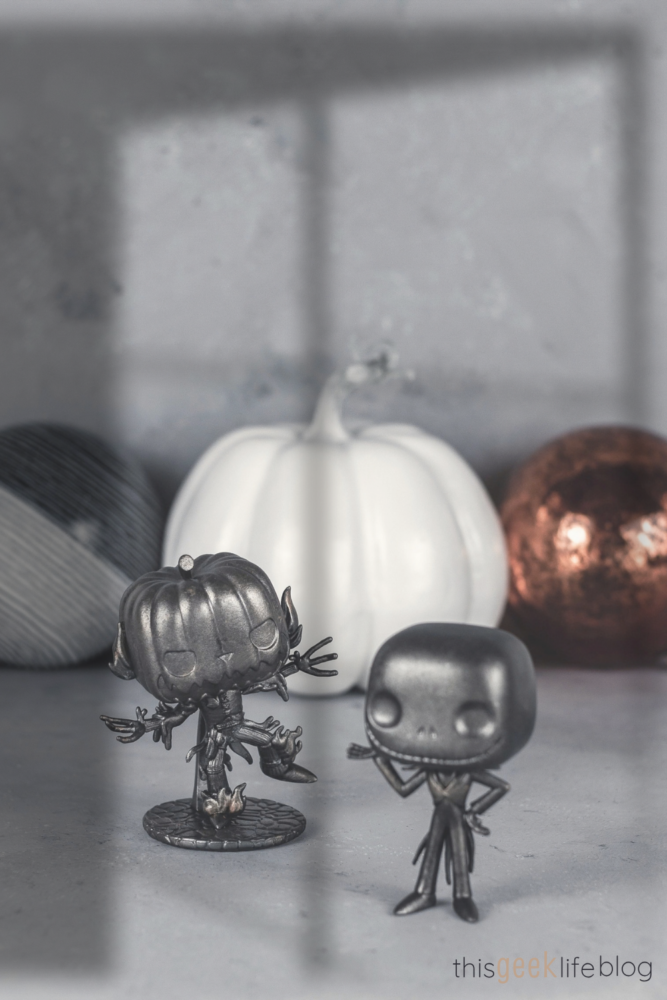
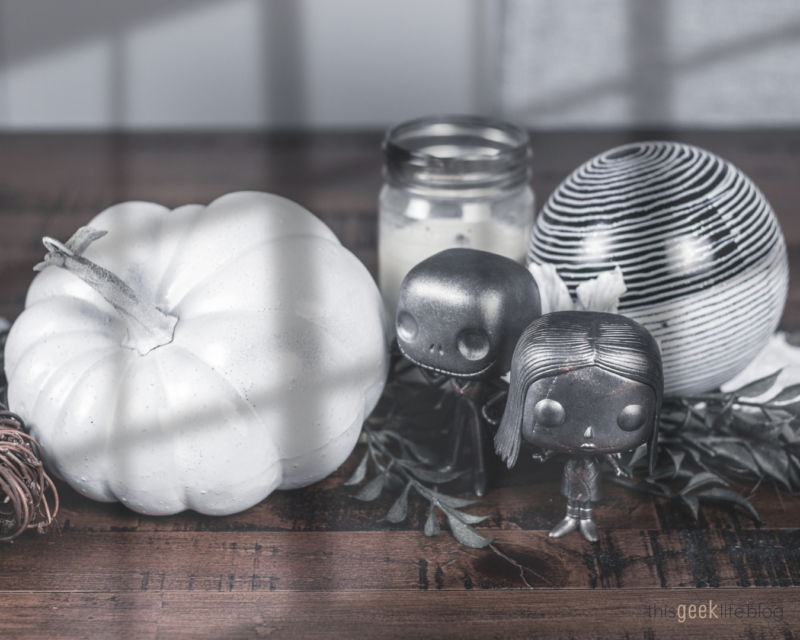
Years ago, Hubs and I found a patina-finished Stan Lee Funko Pop after we’d had the chance to meet him in person. I loved the aged-metal finish almost as much as I loved that the little statuette was Stan Lee. Naturally, it made me wonder what some of our other Pops would look like if they were painted the same way.
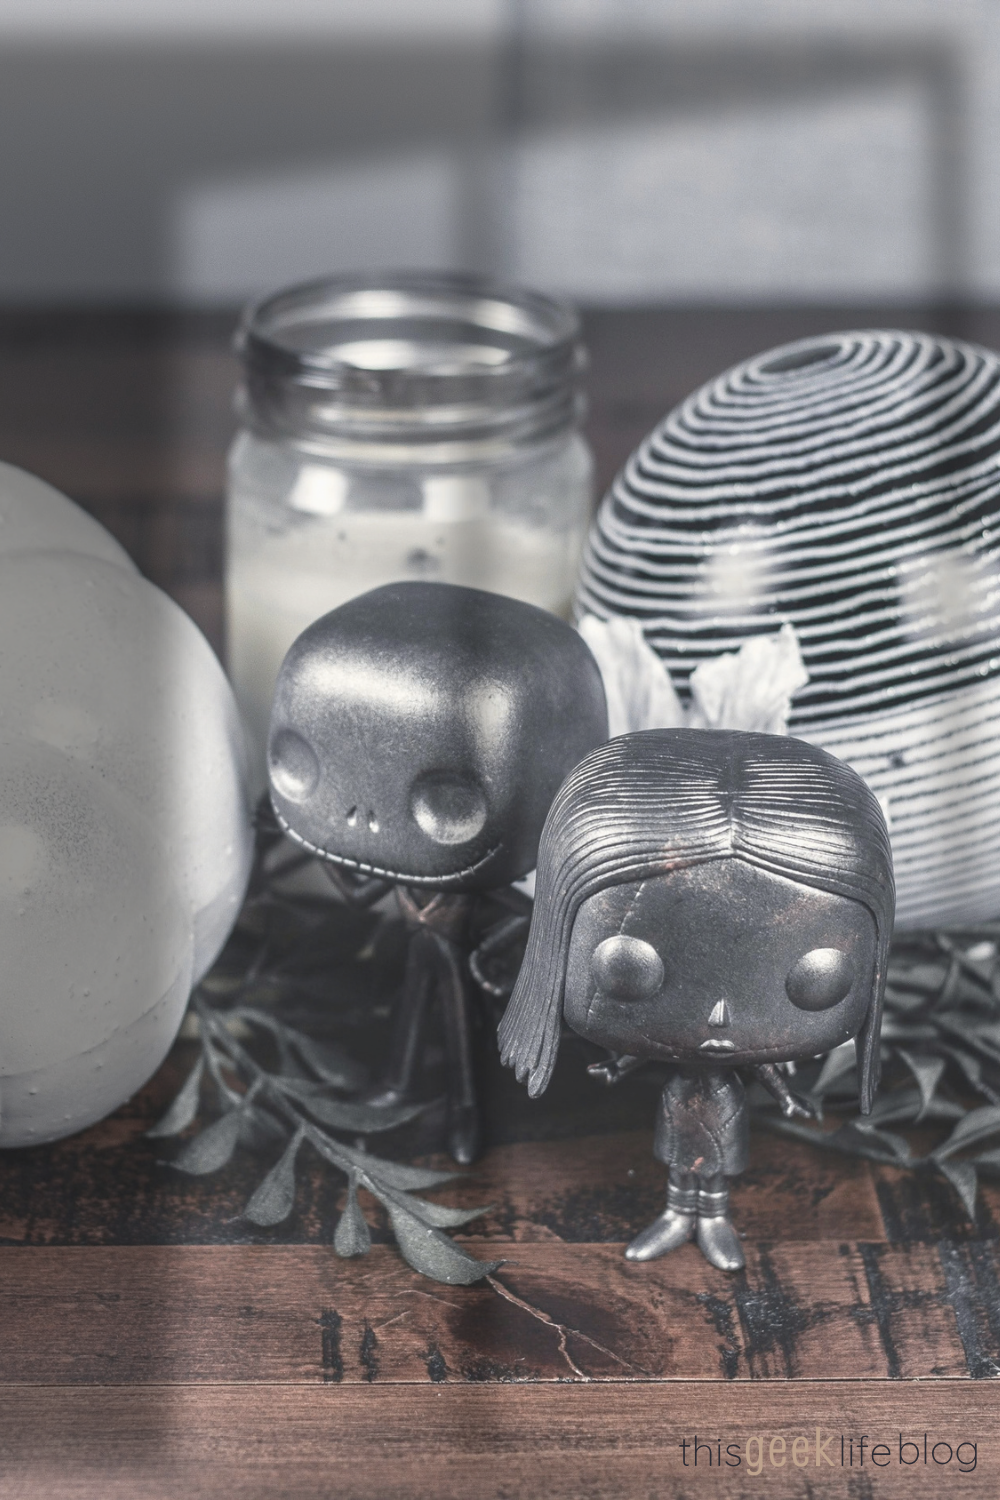
Eventually, that curiosity collided with our Nightmare Before Christmas fall decor… which is how Jack, Sally, and Oogie Boogie (and now Zero, added in 2026) ended up on our painting table.
If you’re a collector who just gasped at the thought of putting paint on a Funko Pop, I should probably warn you now:
It is about to get worse.
A Brief Warning for My Fellow Collectors
I love that everyone collects differently. For us, part of the fun has always been letting the things we collect become part of our lives and our decor – and sometimes that means changing them.
Hubs and I have never been really particular about keeping our Pops untouched in their boxes. We even have our favorite voice actors sign the figures themselves – a decision that once earned us some genuinely horrified looks at a convention.
So consider this your warning: We are about to paint them. If the thought of removing a Pop from its box already makes you nervous, this may be the time to look away.
Inspired by Patina
Patina is the discoloration that naturally develops on metals like copper and bronze as they age. It is very industrial, and I loved the aged-metal look of our Stan Lee Pop. I wanted to recreate that feeling with paint rather than trying to perfectly imitate natural oxidation.
I chose a few of the Neon Backlight Nightmare Before Christmas Pops because the original colors weren’t ones I particularly wanted in our home, which made them perfect candidates for experimenting.
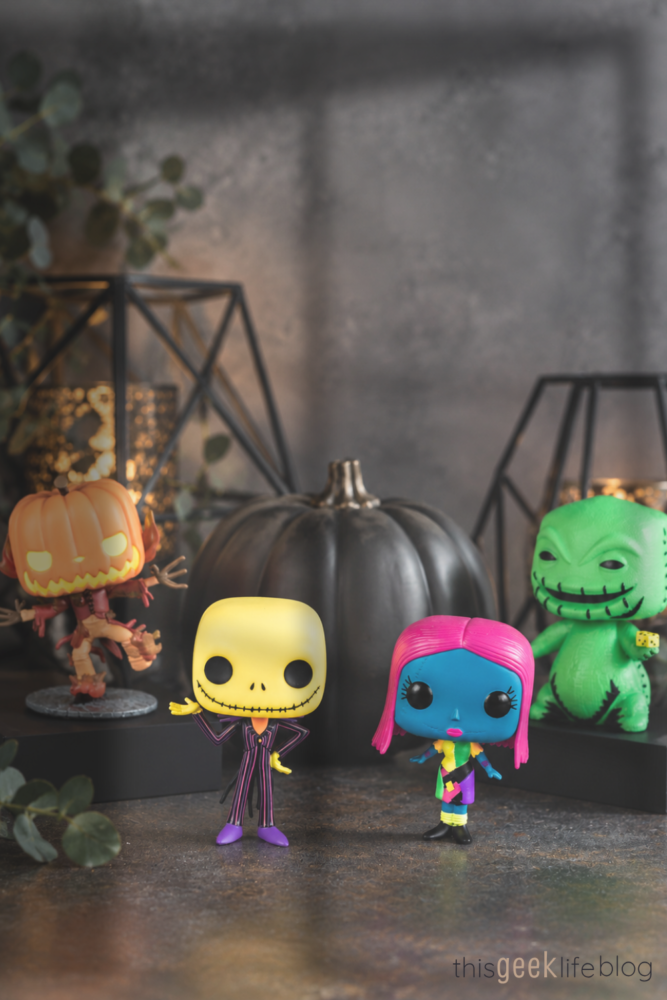
Whether your decor leans more rustic, modern, minimalist, bohemian, or neon backlit eclectic, you can paint your Pops to complement your style. And yes, I deliberately chose figures I wouldn’t be devastated to mess up.
For our decor, I wanted an aged-metal finish that would work with the industrial textures that already existed throughout our home.
DIY Painted Funko Pops for Your Halloween Home Decor
The process for painting your own Funko Pops will be very similar to the detailed instructions in my DIY Faux Metal Painted Pumpkin post:
Supplies (see details in the sidebar)
- Funkos you’re comfortable altering
- primer/base paint (in whatever color you like)
- acrylic metallic paints (or whatever finish you prefer)
- stencil brush or paper towel (optional)
- clear sealer
Step 1: Prime Your Masks
Don’t forget to clean your masks before priming and painting. Then grab your Mod Podge and brush your primer on the mask. If you plan to paint the back of the mask, you’ll want to clean and prime there, as well.
Step 2: Apply the Base Coat
Once your primer has completely dried, apply your base coat in whatever color you prefer.
Hubs was getting into airbrushing at the time, so we used his airbrush to apply the base coat. It gave us a beautifully smooth finish, but you absolutely don’t need one for this project. Spray paint or a flat acrylic base works too.
Whatever method you choose, let the base coat dry completely before adding texture.
Step 3: Add the Aged Metal Texture
Once the base coat is dry, use a dry stencil brush or paper towel to lightly dab metallic paint across the surface. I prefer pressing and stippling rather than brushing because the irregular coverage creates the texture I’m looking for.
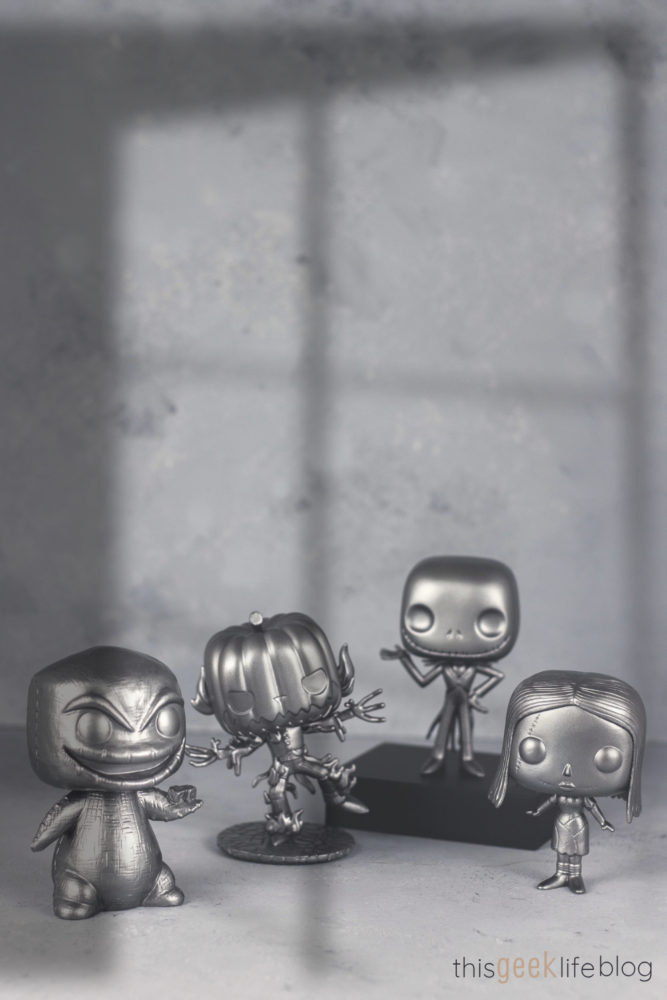
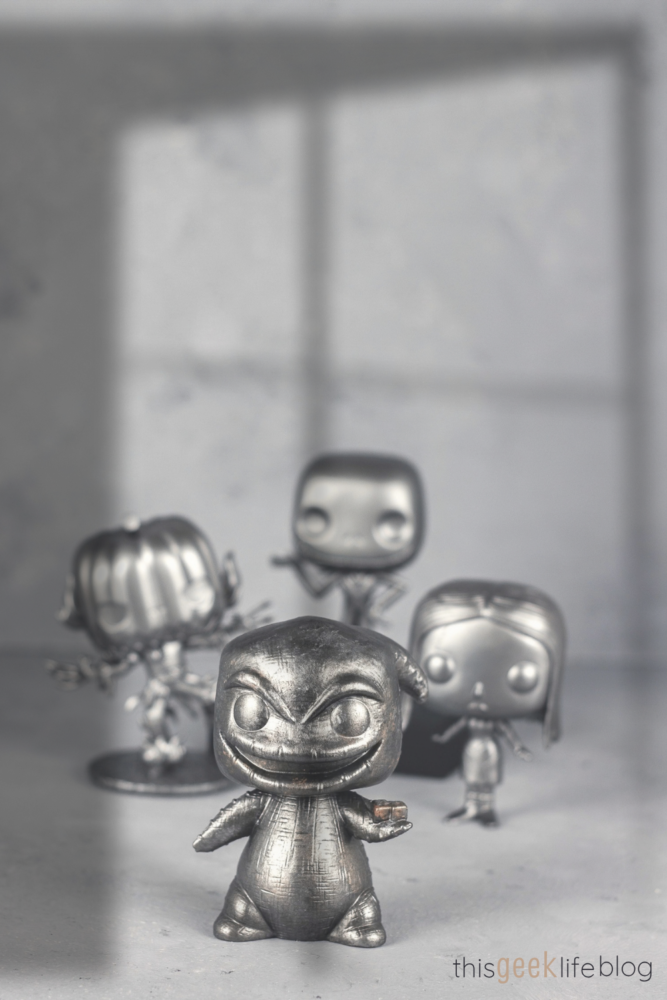
For these Pops, I used an orange-bronze metallic paint instead of the green we usually associate with copper patina. A tiny amount was enough to add warmth and make the finish look aged without overwhelming the darker base.
Start lightly. You can always add more.
Or none at all. You may prefer no texture, and that works, too.
Step 4: Seal
Once everything was completely dry, I finished ours with two light coats of Mod Podge spray sealer. It helps protect the painted finish from scratches and handling.
Step 5: Put Them Somewhere You Can Enjoy Them
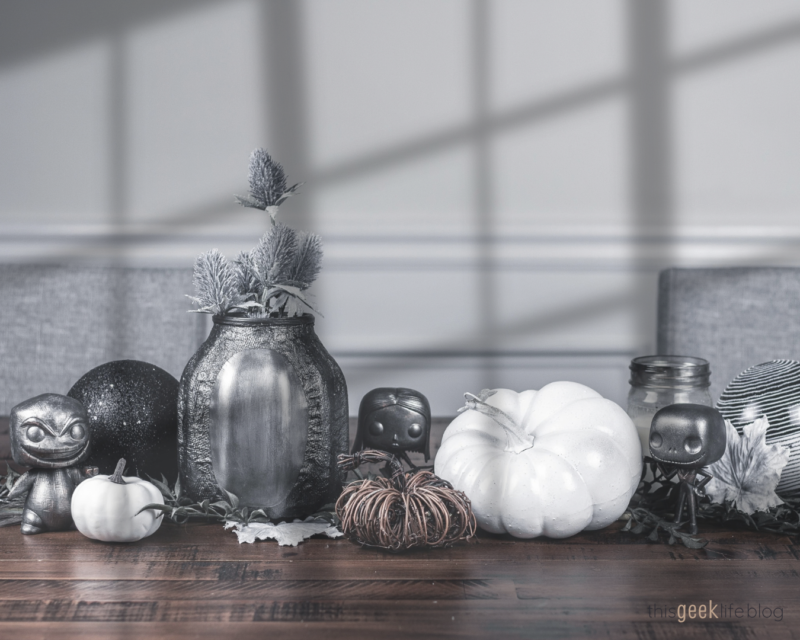
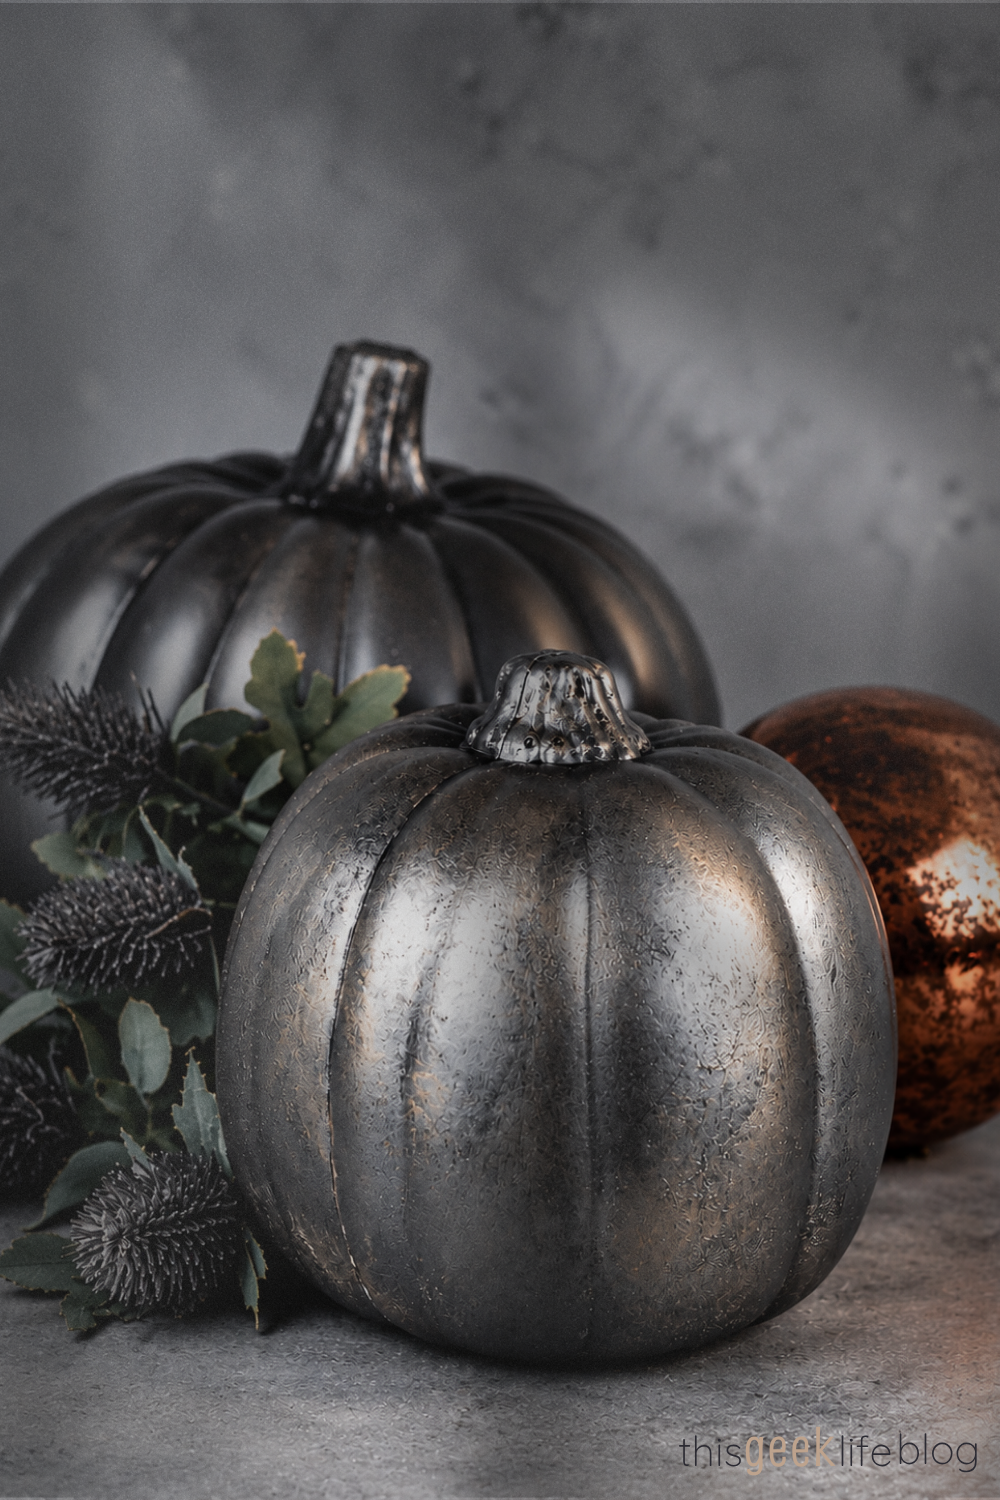
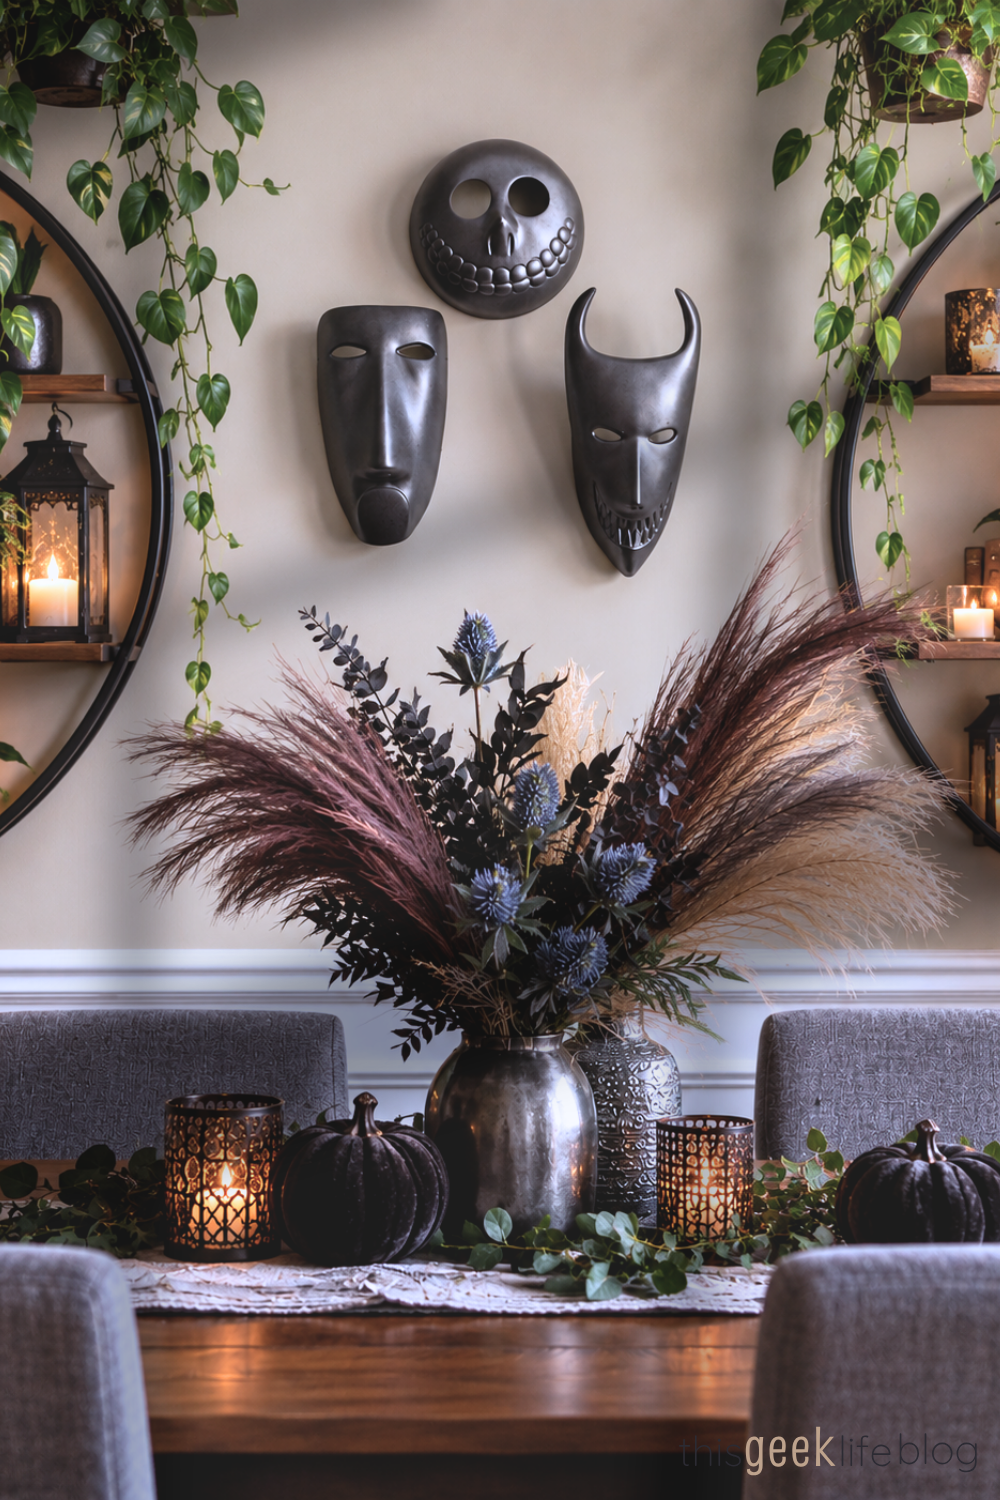
After our masks dried, I worked them into our fall dining-room display alongside white pumpkins, metallic textures, and a few subtle references to The Nightmare Before Christmas.
What I loved most was that the characters were still completely recognizable, but the new finish let them settle naturally into the rest of the room.
That’s one of my favorite things about customizing something you already own: you aren’t removing its story. You’re adding yours to it.
I even tucked in a faux sea holly inspired by the plant Sally briefly holds in the film—one of those tiny references that we add just for us.
Final Thoughts
And there is nothing wrong with leaving a pristine collectible in its box if that’s what brings you joy. Of course, there is also nothing wrong with taking it out, putting paint directly on it, and turning it into something you could own.
For us, these Pops became part collectible, part art project, and part seasonal decor.
Their original story is still there – we just added ours, too.
If you like seasonal DIY posts, read the entire collection:

No Comments