27 Jan Make Your Own Coasters | Video Game Controller Button Coasters
Okay, so you know when you have a brilliant idea to do something? You can literally see the lightbulb go off above your head and the thought bubble that says ‘Eureka!’ floating in the air as you convince yourself that this is your best idea, yet. That was me about a week ago when I looked at the plain slate coasters we purchased at Michaels and said to myself, “I can paint on these and make them match our geeky aesthetic!” And because we’re all-gaming-all-January over here, I decided that we should couple-DIY a set of PlayStation and X-Box controller icon coasters for our winter gaming home decor.
Gaming DIY for Winter-een-mas
The headline right there is the answer to your ‘but why?’ question. Also because we’re geeks. DIY home decor to match our geek life is what we do!
If you didn’t catch my last post about Winter-een-mas and three new game recommendations, let me catch you up: We are celebrating Winter-een-mas for the month of January. I know, I know – it’s the end of January, but it has already been a long year – I mean month – and I’m playing catch up. As usual.
In short, Winter-een-mas is a holiday for gamers to celebrate our favorite games and show love to the people who create them. You really should check out the three new games I’m playing this month, and try them out with me!
DIY Coasters for Geeky Home Decor
Right, so back to my bright idea. No idea is original, and when I went to Pinterest, I discovered an entire new world of geeky themed coasters that fellow geeks were painting, printing, and even engraving. There are Star Wars coasters, Pokemon coasters, Mario coasters, and coasters for Star Trek. I had so much fun scrolling through the different varieties of creative work.
Even though I didn’t invent the idea, the vision I had in my head for our own controller button coasters was still unique to our home decor. So in a sense, I can still add an original design to the collection of other designs out there. I’m just always happy when I find out I’m not alone in my geekiness! LOL
Geeky DIY Coasters with an Industrial Vibe
Our home is a geeky-industrial-chic decor with metals, wood, and texture. So when I’m thinking of decor to purchase or make, I always keep our preferred decor style in mind. With that being said, the dark slate coasters were a perfect fit. (And they just look cool!)
We decided to use foam stencils to stamp and paint the icons onto the coasters. And our paint color would be a subtle black and grey mix instead of the bright colorful icons we’re used to. I really wanted to go for a subtle vibe.
I think it will be better if I show you how we made them. Let’s do some geeky gamer home decor, yeah?
How to make your own PlayStation and Xbox Controller Button Coasters
First, let’s talk about what you’ll need.
Note: we purchased most supplies from Michaels, but if you don’t have one in your area, you can always order them from their website, or from Amazon. If you click the links below, you will be able to purchase the item directly using my affiliate account. This simply means that your purchase from my link will allow me a small stipend at no extra cost to you. If you prefer to view the entire list, click this link and it will take you to the list. Purchasing items off the list will not count towards my affiliate code, unfortunately. But I always appreciate any support I receive for my blog, whether through monetary support, or a like, comment, and share! 🙂
Supplies for the Geeky Controller Icon Coasters:
- Slate Coasters
- Plaid FolkArt Sugar Metallic Acrylic Craft Paint in Space Gray
- Paper or Foam for stencils (we used foam because as cosplayers we have more foam than cardstock lol.)
- Stencils*
- Scissors**
- Mod Podge Sealant spray in Matte
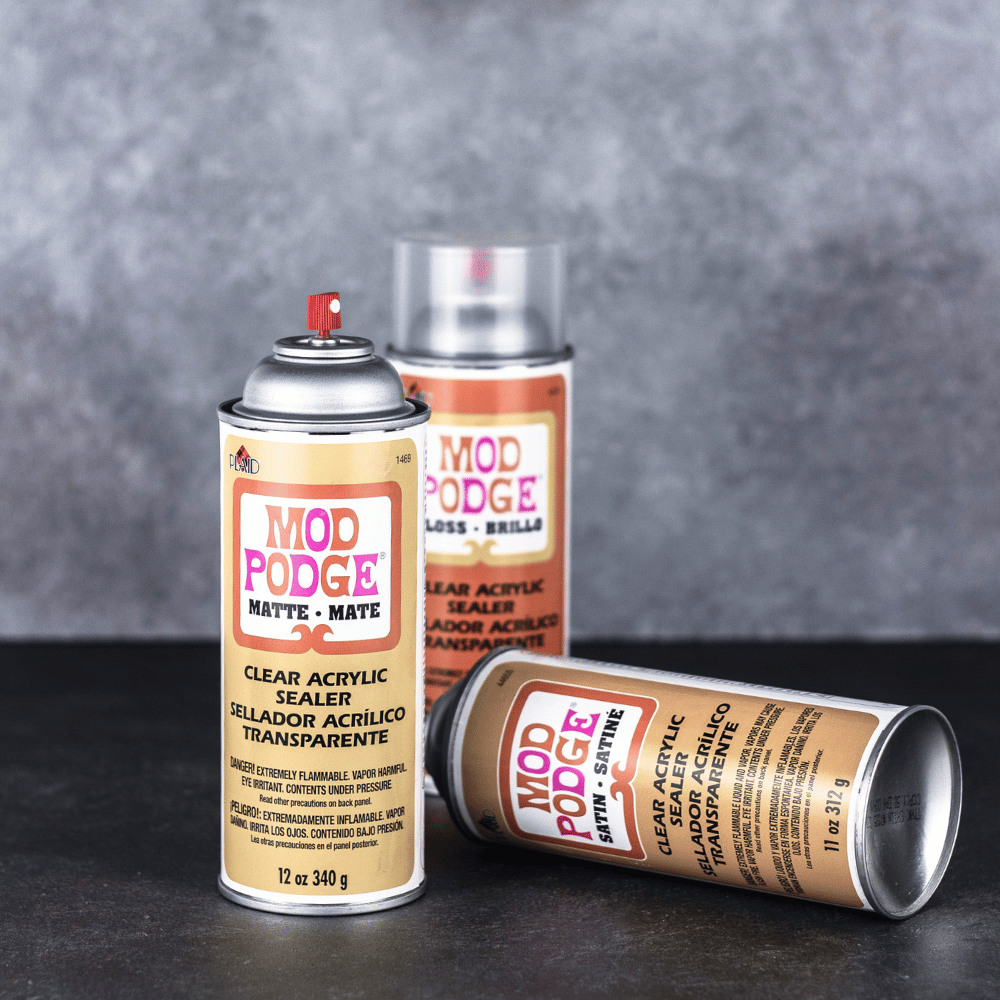
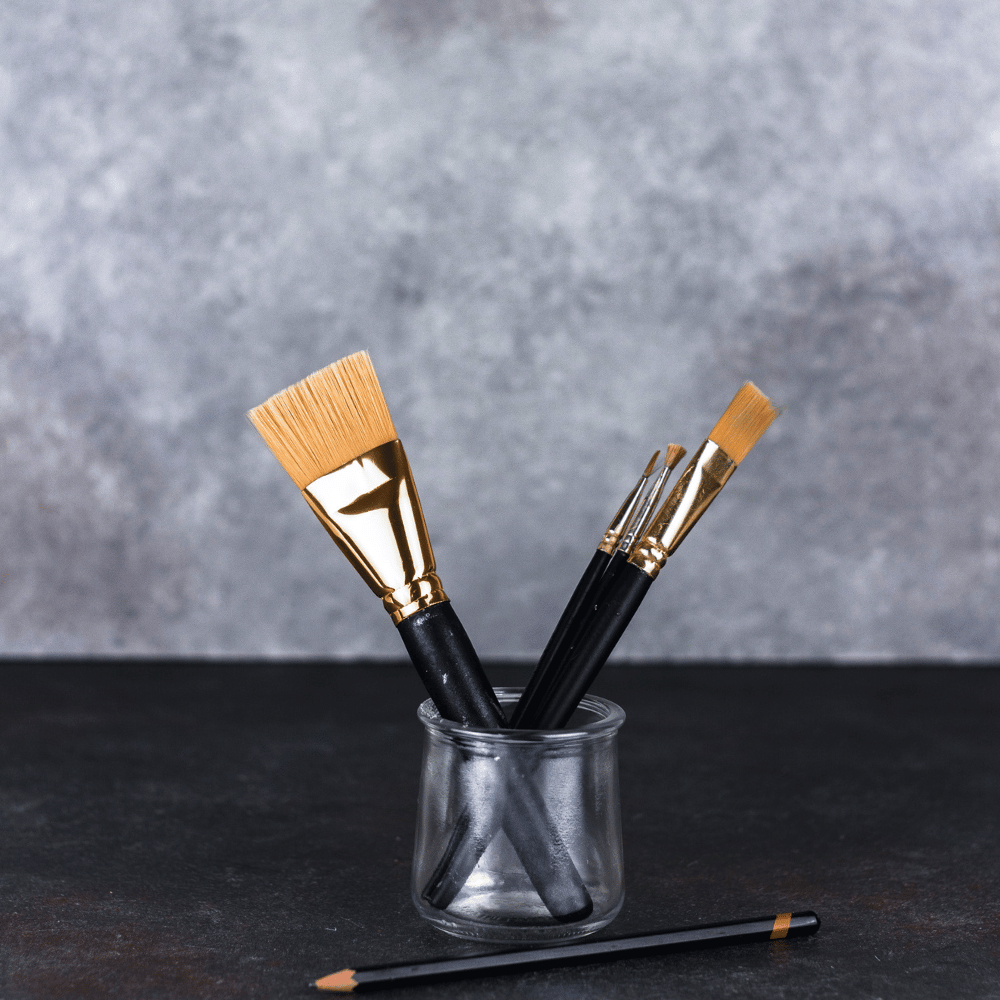
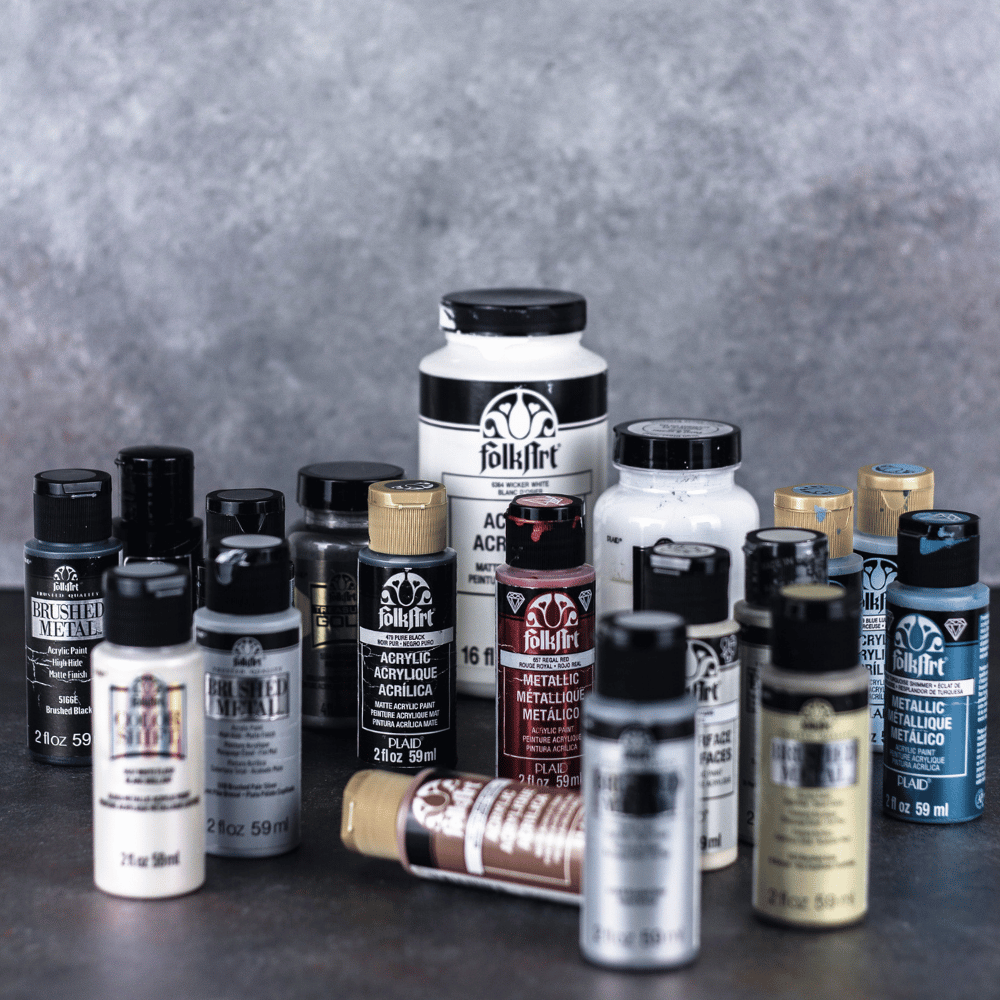
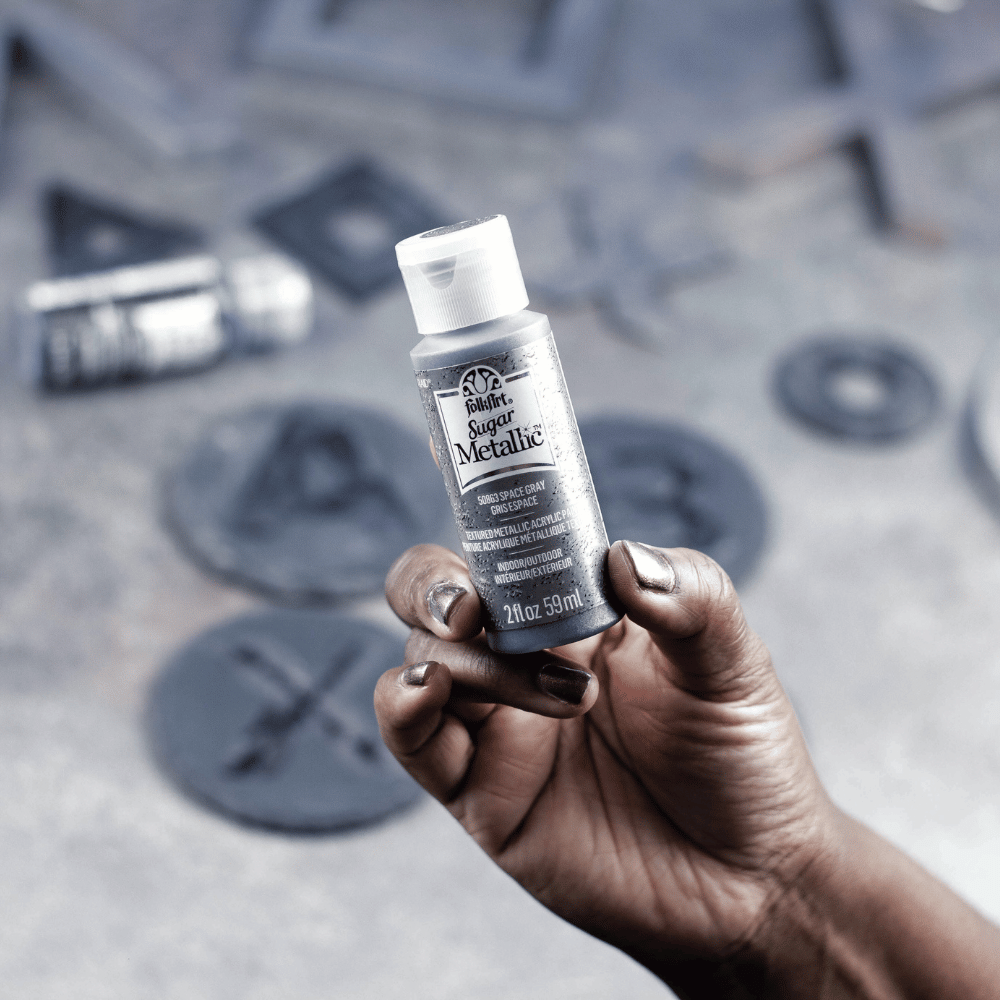
*You can free-hand the icons, or you can create and print stencils using your favorite font. I have put the stencils we used into a free printable and digital file for you, if you like the font we used. Sign up below to get the free printable!
**Or a cricut | silhouette | cutting machine if you have one. Please see step two for more detailed explanation.
Okay, back to the DIY. I’ll try to be as quick and precise as I can! I hope the images help to show you exactly what we did.
Step One: Clean Your Coasters
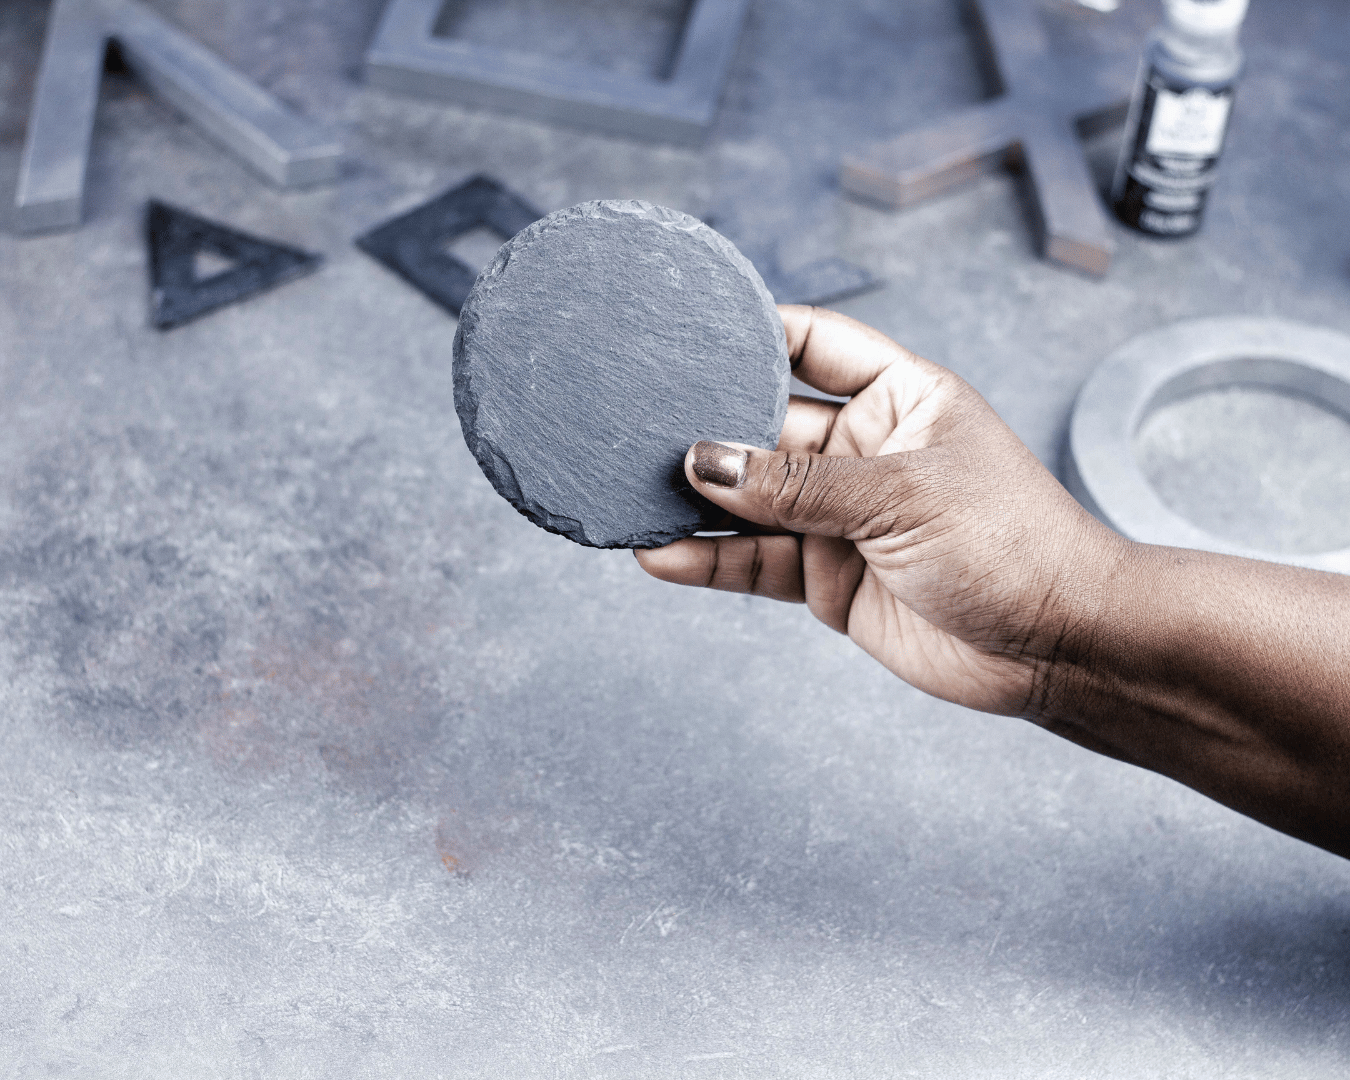
It’s good to always wash the items you’re using to free them of any debris or film that they may have accumulated during their stay in the store. Don’t use paper towels to dry these – they will rub off and your coasters will be a white flaky mess. Instead use dish soap and water with a sponge to wash the dusty debris off the surface of your coasters. The slate coasters should dry pretty quickly, but a kitchen towel will do the job.
Step Two: Print and Cut Your Stencils
Or draw them on, directly. I found stencils to be the best way to get the general shape onto the coaster. I have put our stencils into a free printable file for you. It includes two pages for each of the console icons and separate transparent image (png) files for those of you who have a cricut. Please sign up below to let me know you want it and I’ll send it right over!
We used a cricut and thin foam sheets; but please do not invest in this machine unless you have the time and patience to calibrate, re-calibrate, and constantly calibrate. I swear this machine won’t print anything right the first time, no matter how precise your image is. I don’t care what these people on YouTube are saying, the Cricut is not an easy user-friendly machine. They’re just another expensive printer that will only print when and if it feels like it. Either way, the transparent 3×3 letter images are for those of you who may have already fallen down the Cricut rabbit-hole. Me? I’d prefer to print out the letters and cut them out or draw them directly onto the coasters with pencil before painting. Might have been faster. But when it finally did cut, the letters were perfect. Hubs gets all the credit for his patience and precision on this front!
Step Three: Paint Your Stencils
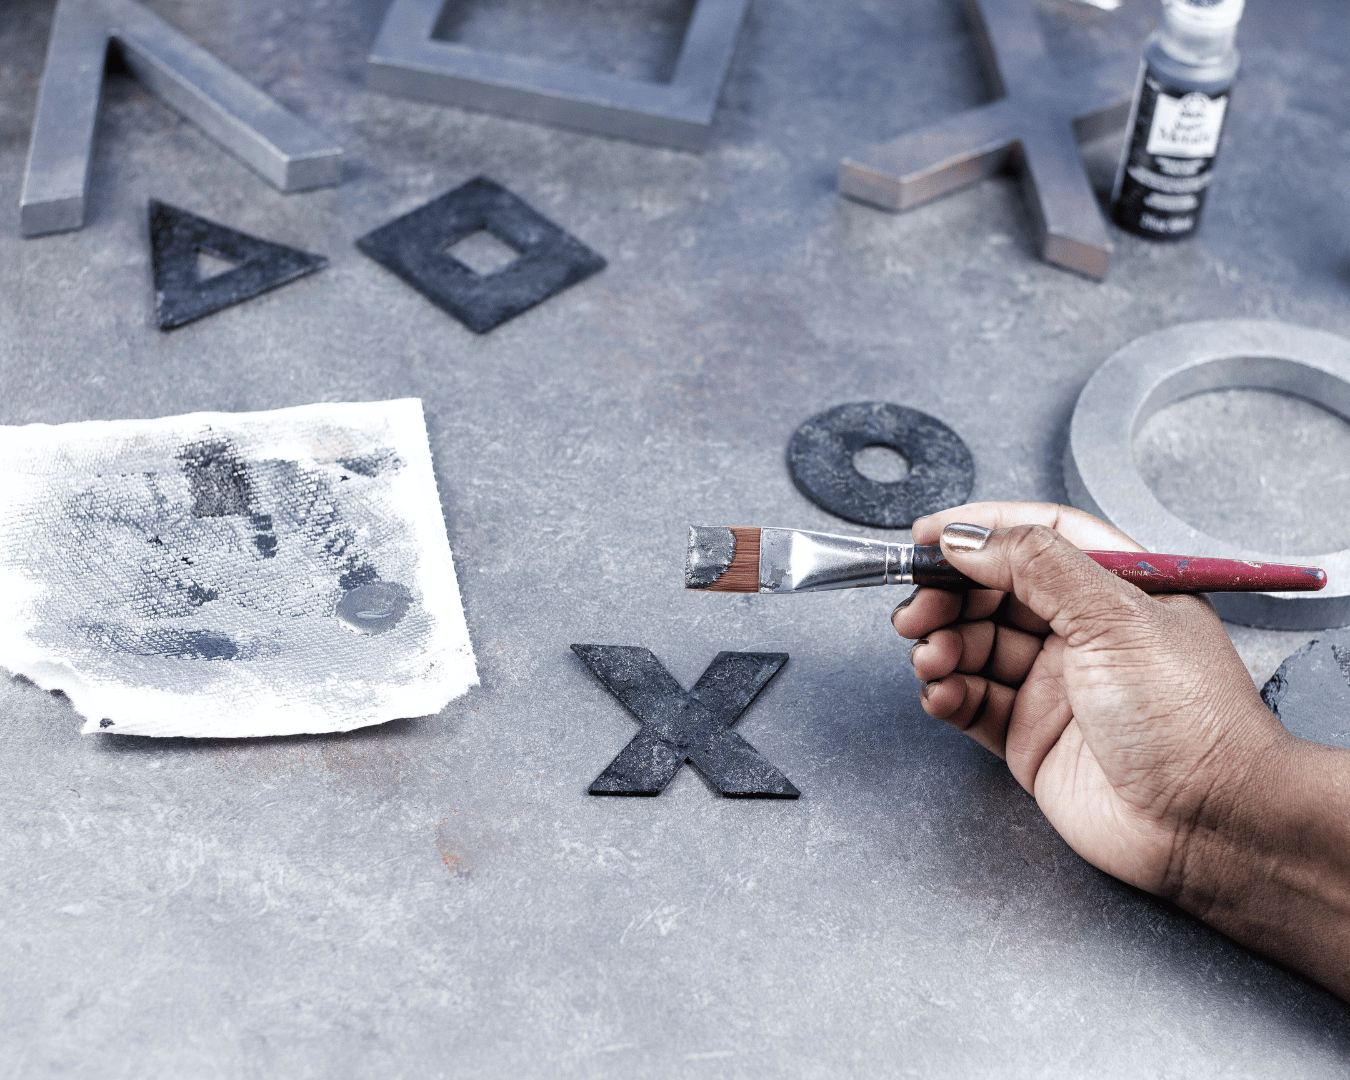
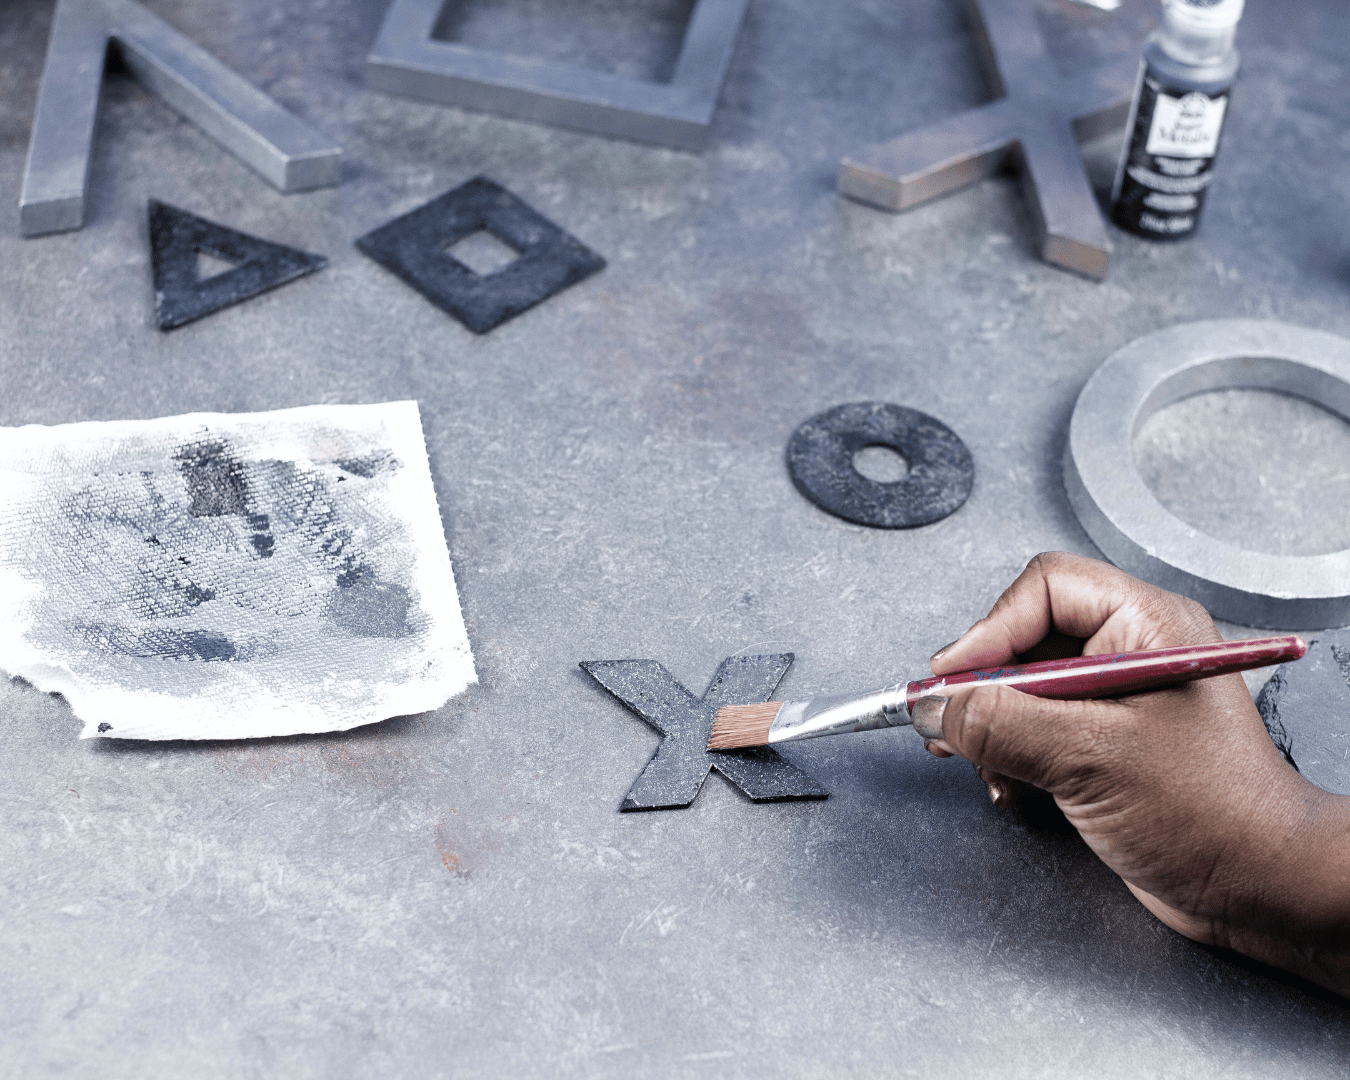
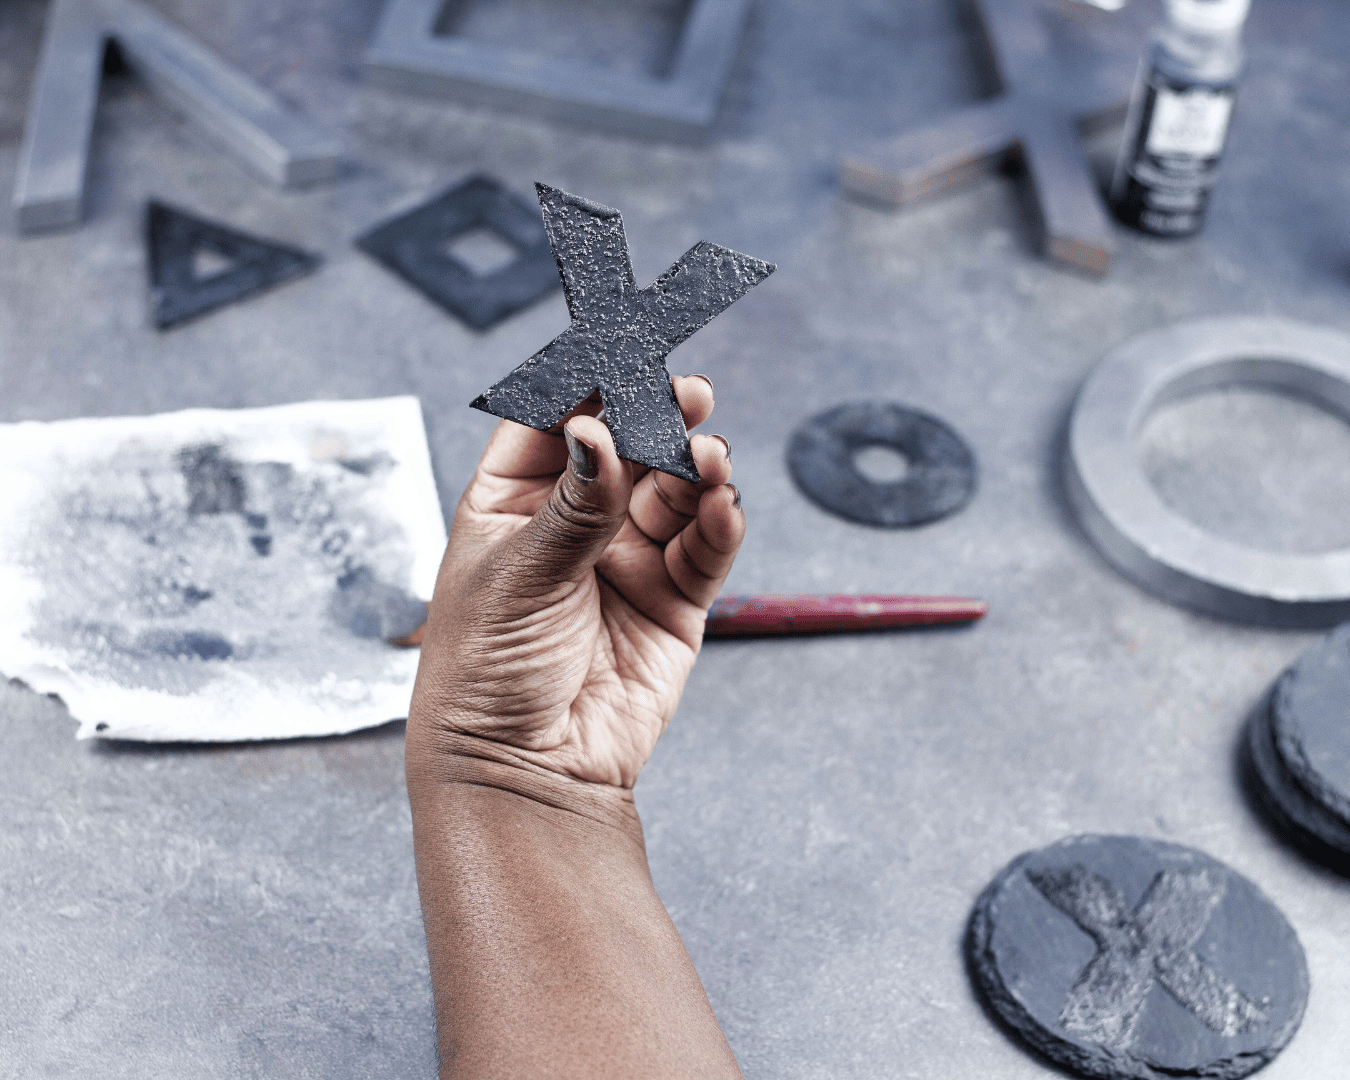
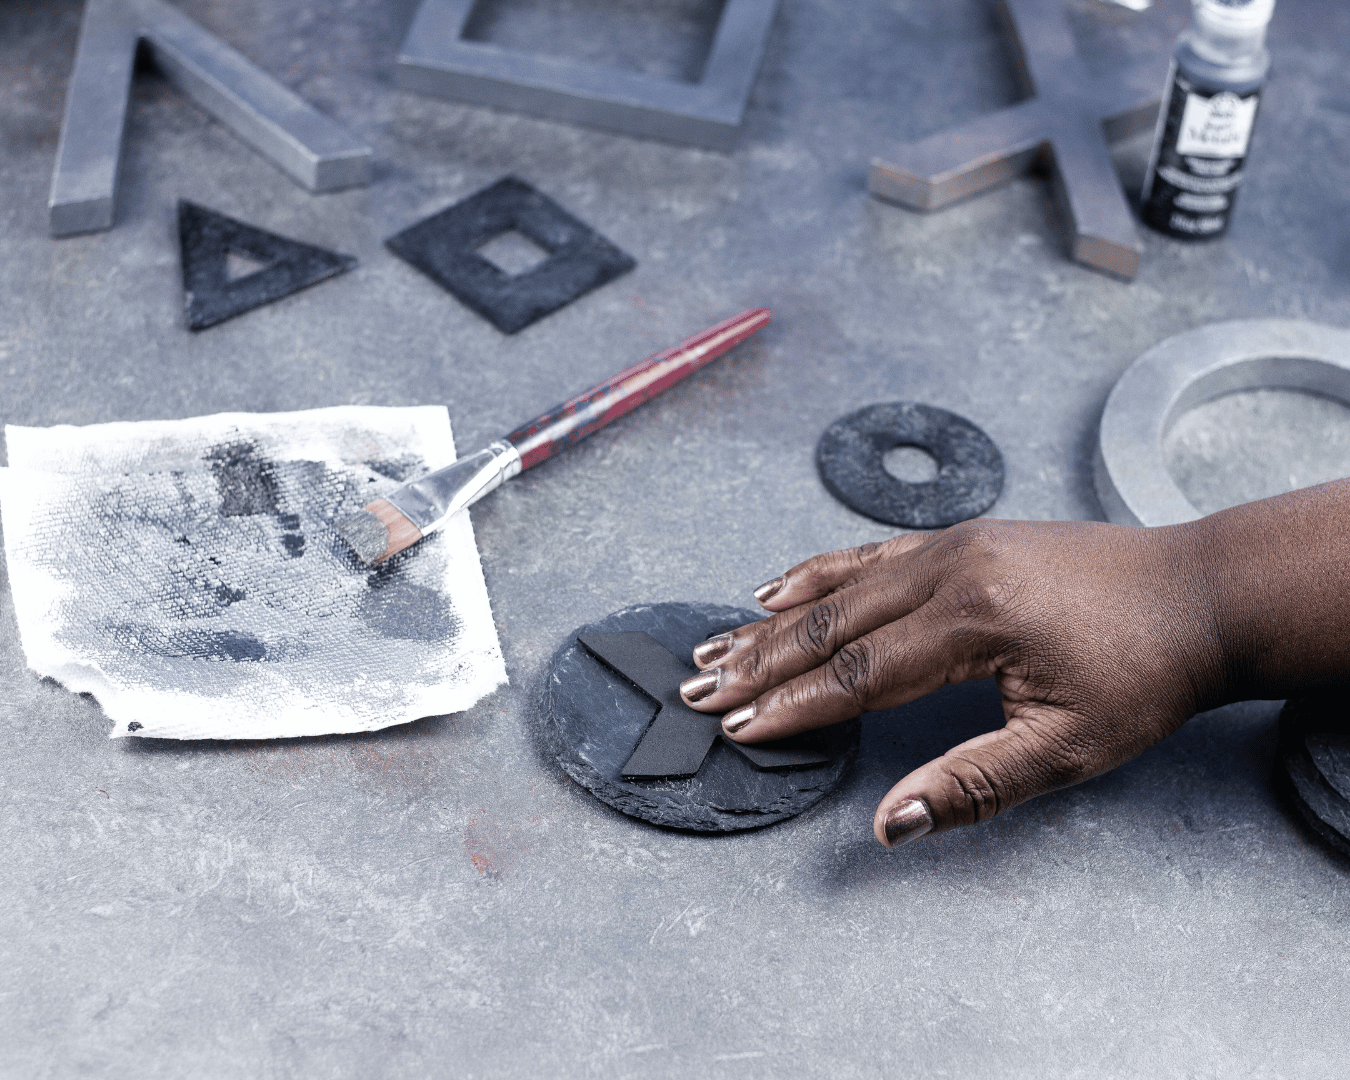
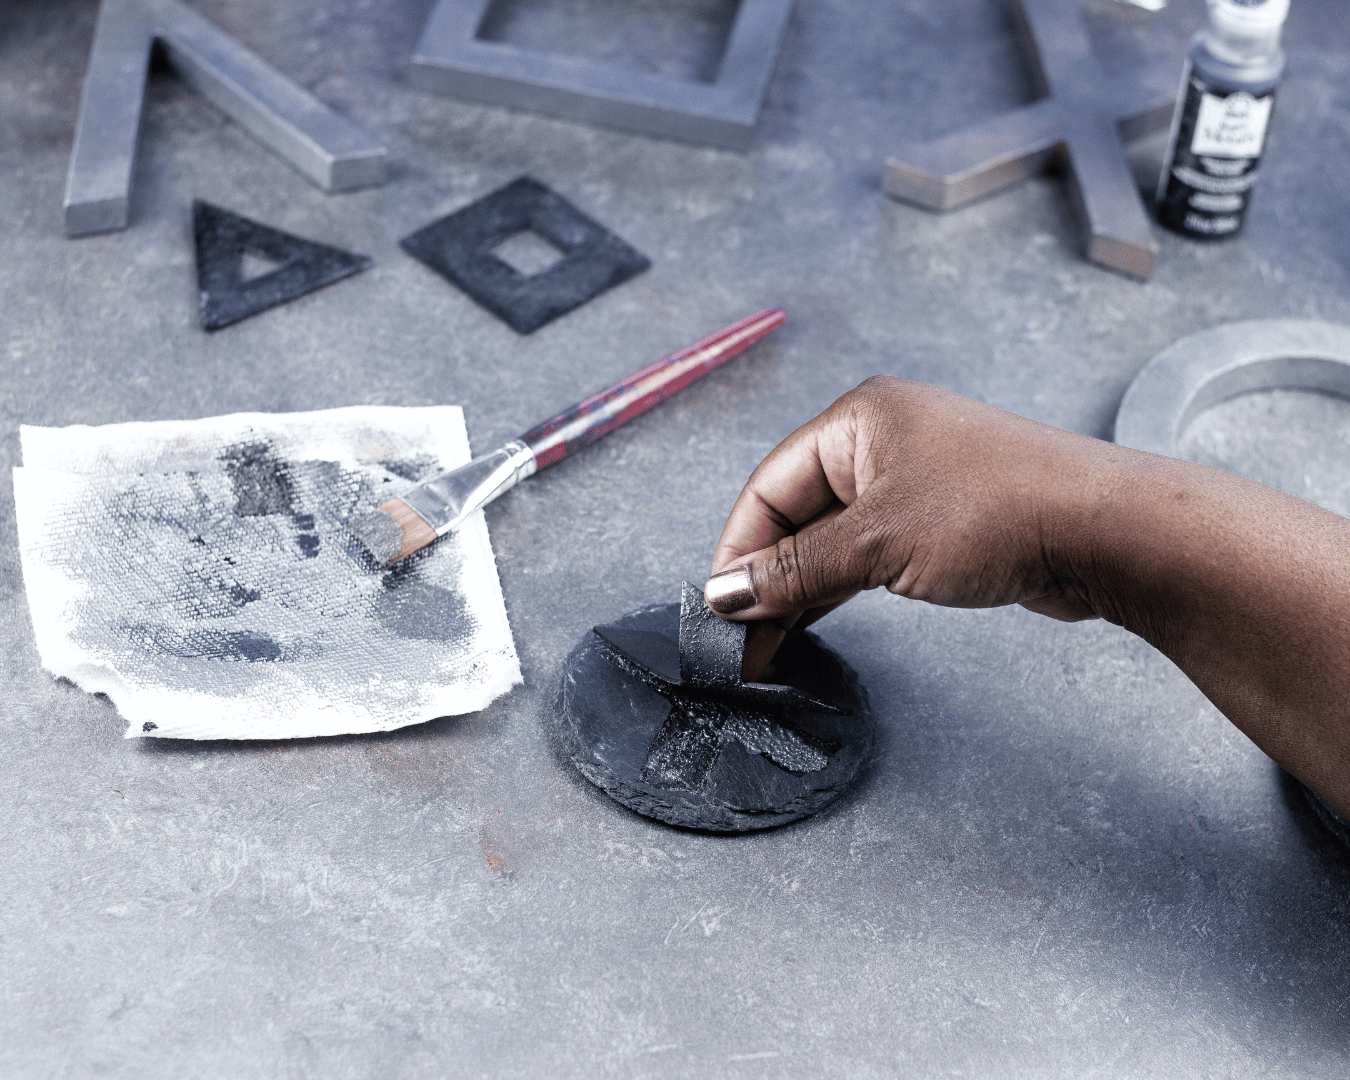
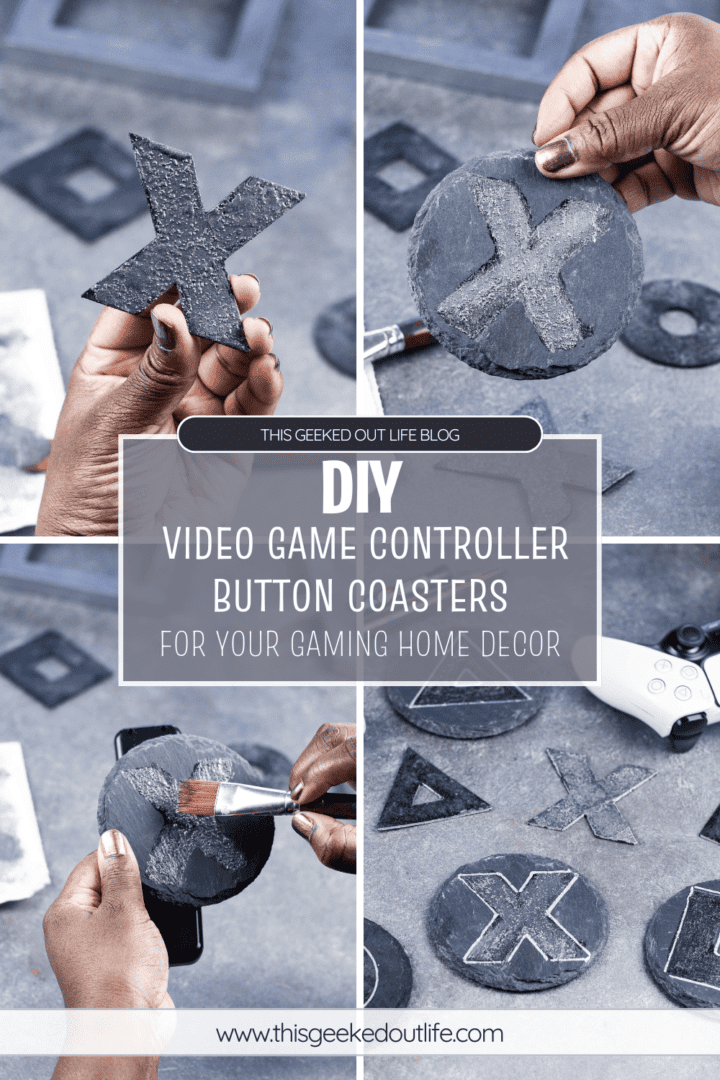
This is the fun part! You can now stencil on and/or paint your icons onto the coaster. For detail painting work, use a paintbrush and just keep working with the shape until it has the look and design you want.
I loved the subtle look of the dark on dark, but in the end I did the most and outlined the PlayStation icons with a silver paint pen. It isn’t necessary, and I can’t say I love one over the other, but it sure does make the icons stand out.
Step Four: Dry and Seal
Let your coasters dry completely and then seal them.
The stone material of the coasters will allow liquid to seep right into them. However, now that you have paint on them, you should seal the design into the coaster so it won’t rub off. One coast should be plenty. Or be extra like me and spray a coat, let it dry, and spray a second coat.
I would let the coasters sit for at least 24 hours before putting any wet glasses or cans on them. But once they’ve set and dried completely, enjoy your new geeky coasters!
There! all done! Now you have brand new geeky controller icon coasters with your favorite gaming icons on them. Of course, you can choose any fandom you love and use symbols and colors from that to create your own unique set.
Pinterest Ideas
Here, I’ve collected some ideas on this Pinterest Board for you if you’d like to see for yourself all the ways you can paint coasters.
Thanks for visiting the blog today, I hope this was helpful for you! If you want to, please share this post with your geeky peeps and on your Pinterest page. Also, feel free to share your coaster creations on the discord. I’ll post images of my finished coasters there, as well.
Until the next time, geeks!






No Comments